Last week, I got busy with a screwdriver set and a SanDisk Ultra II Solid State Hard Disk (SSD).
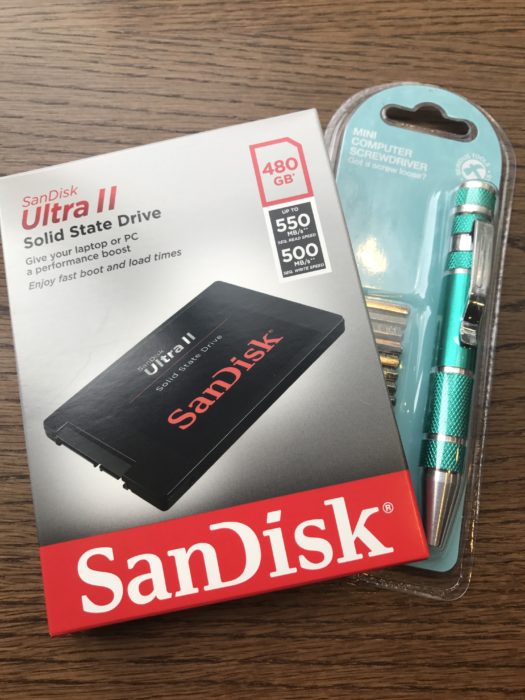
So, how hard was it to complete the upgrade on the MacBook Pro?
The answer – not that bad – but I could had been more prepared. Getting the correct screw bits help (and it would help if the Torx screws on the hard disk were slightly looser).
To start with, I downloaded a copy of my OS (MacOS El Capitan), and imaged a USB drive with it using creatmediainstall (as documented by Apple Support). Use at least a 16Gb Flash disk for this process.
I had a backup I would be working from for my images, with other files moved onto my home server
With that, it was time to do engineering.
Here’s what I started with:
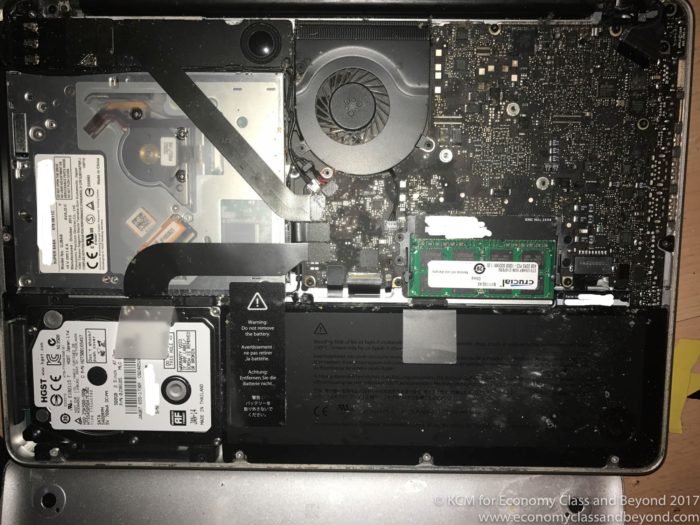
The insides of MacBook Pro 2012 Edition before taking out the hard disk (bottom left hand corner). Mac watchers will note the memory is non-standard (rather than pay Apple a penny for memory, I suggest using a supplier such as Crucial)
It’s an easy job to do – remove the screws, disconnect the battery, remove the security bracket that holds the hard disk, lift your old device out of the MacBook Pro.
All in wonderfully document on iFixIt
Then fight for an hour to get the Torx T6 screws off without sheering them (and resorting to plan B, C, D… and finally E… by stripping the Torx screws off another MacBook Pro I had that has been retired).
After a while and with my frustration stripping screws off drives, I finally got to a point where I could put in the Sandisk Ultra SSD.
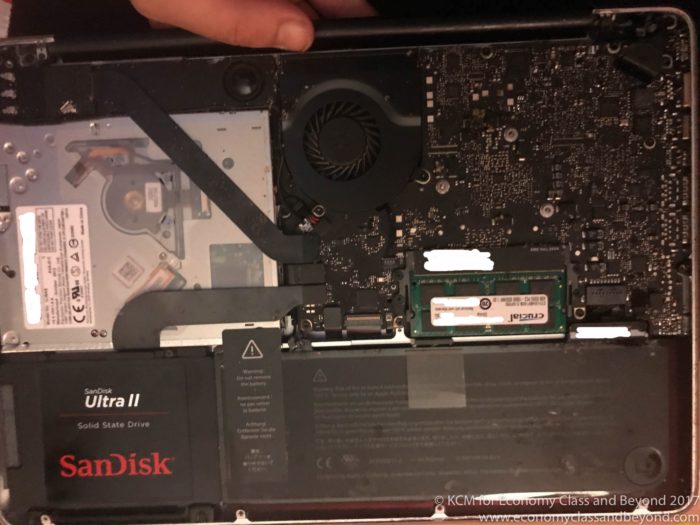
There we go. Nice and secure!
With that done, it was time to reconnect the battery and screw the thing together. And hope my divine offering of three half mangled Torx screws would be enough, I popped in the bootable USB drive, hit the power button on my MacBook Pro.
Oh yes. And hold down the option button as you power on.
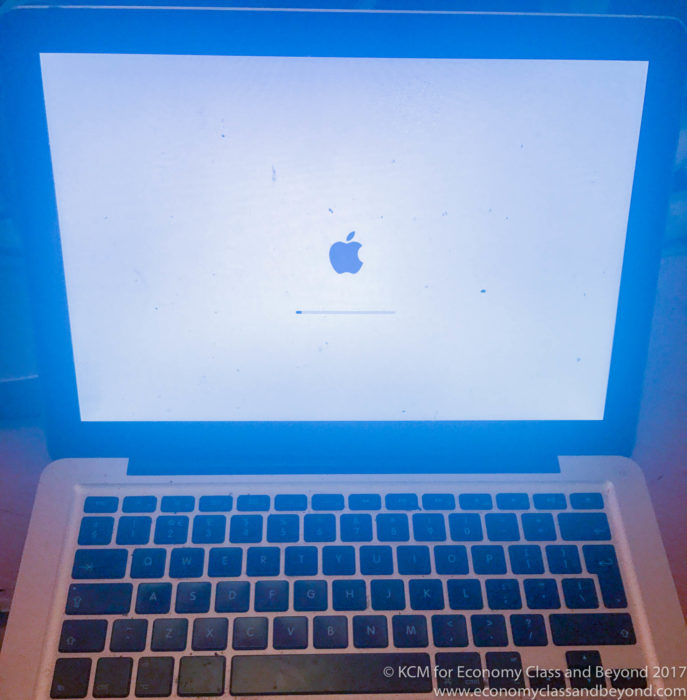
And it lives!!!!!
With the boot disk working (to my amazement – my track record with Boot disks has been.. sub-par). the MacOS X installer booted up.
First thing to do is to format the drive in Disk Utility.
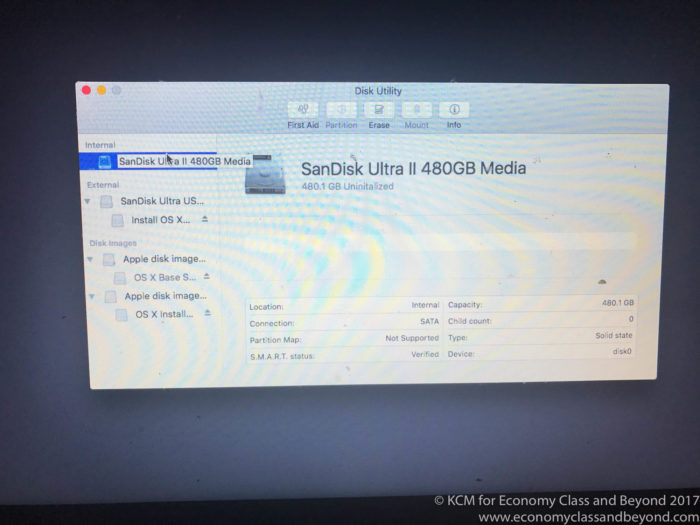
Here we go… does it work?
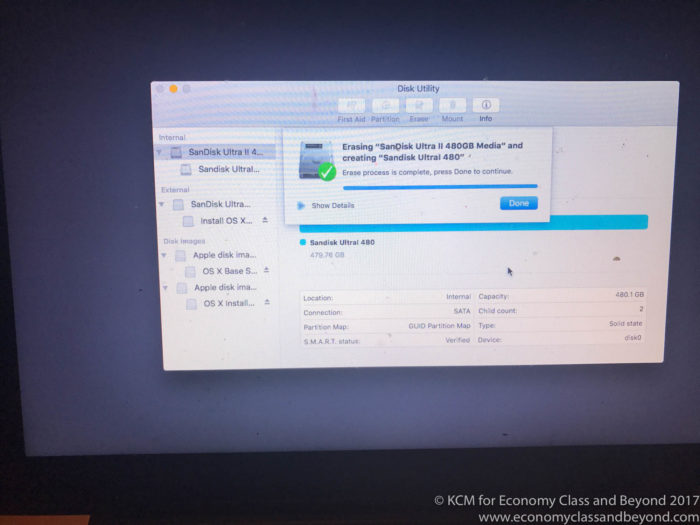
Why yes. It does. IT’S ALIVE. Well… almost.
With the disk formatted, it’s onto the part where you install the OS.
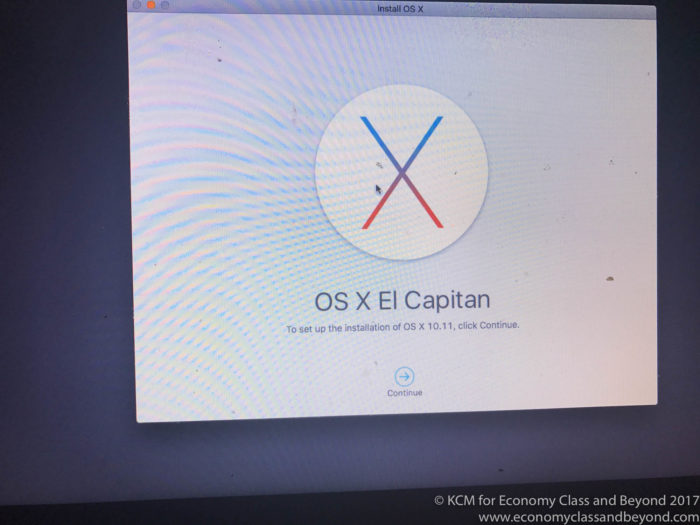
Suppose I’d better click continue.
I’m still running my applications with El Capitan. This process would work happily with Sierra…. I just can’t be bothered to switch to Sierra yet (and I doubt the handling of the kernel has improved that much).
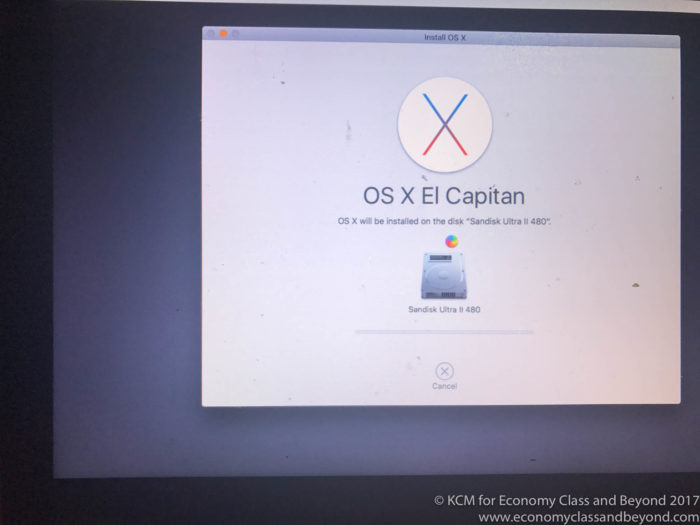
Go on. Install.
With that I waited for a while, and soon enough I had a fresh MacOS installation completed. The next trick was to re-sync my Apple iCloud account (unsurprisingly, with the battery disconnected for an hour, the system clock had re-set itself, so the computer was getting invalid certificates everywhere).
And with that, I could begin polluting the SSD with all my stuff.
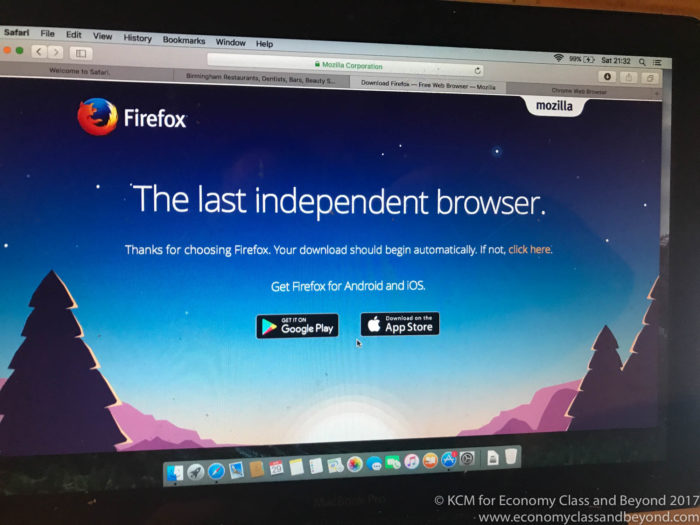
Reasons to use Safari – downloading Firefox or Chrome then forgetting the software exists.
There are some positive things in a clean MacOS install like this, there’s no caching of anything you’ve done before, so you can just get data
The data transfer took the best part of four hours (pulling stuff down off the LAN and copying the library back from the external drive). I also had to reinstall Adobe Cloud (along with its polluting applications including Lightroom) and Office365 (and the virus called Microsoft Word… although they’re far better than Pages and Sheets)
And with that, I was back to normal.
In terms of performance, I’m finding the MacBook Pro stalls a lot less than it used to, and that Lightroom actually works without running out of memory every five minutes (with the ability to import, index and file pictures fast).
For those with newer MacBook Pro’s and MacBook’s – your upgrade options are limited. Certainly, you can’t pick up an off the shelf SSD like I did – and you’ll have to hunt around for compatible SSD drives. Search iFixIt as your starting point… and good luck upgrading your device if you can.
For those of you with older devices – upgrading memory and SSD’s can give your devices new leases of life, and saves paying out for highly overpriced devices.
A highly-recommended upgrade.
Welcome to Economy Class and Beyond – Your no-nonsense guide to network news, honest reviews, with in-depth coverage, unique research as well as the humour and madness as I only know how to deliver.
Follow me on Twitter at @EconomyBeyond for the latest updates! You can also follow me on Instagram too!
Also remember that as well as being part of BoardingArea, we’re also part of BoardingArea.eu, delivering frequent flyer news, miles and points to European readers.
That looks awesome Kevin! Those torx screws drives me insane too.
While you’re at it grab this as well: https://cindori.org/trimenabler/. Keeps your SSD performing tip-top,