Night Time Model photography with the EOS R featuring the Rotolight Neo II
Canon EOS R Long Term Review
- Introducing the Canon EOS R
- City and Street Photography in Brussels
- Urban Exploration with a Model (featuring the RotoLight NEO II)
- Aviation Photography in Manchester
- Night time Model Photography
- The British Airways BOAC Boeing 747-400
- Living pains with the EOS R
- Studio Photography Life
- Not a conclusion, but the next steps forward
Editors note – As you can imagine on a shoot like this there are a lot of photos that didn’t make the cut here for a G/PG style blog. Rather those images are on my Hard Disk and at my portfolios out in the real world. Those expecting more should hunt around… my work isn’t hard to find out there… not in the least.
The Brief
We’re heading out into the real world again, this time with a model to see how the EOS R handles portrait photography… but with an interesting twist… in the dark. Why? The EOS R is promoted as having low light detection, -6EV autofocus points and so. on.
As portraiture is a primary driver of this camera, I need to know – can this thing work with minimal light?
So my brief is simple to me:
- To work with the camera and learn to use it as I would in a commercial portrait setting… whilst doing some actual artistic photography and model photography.
And in some senses – getting my studio groove back.
The Kit
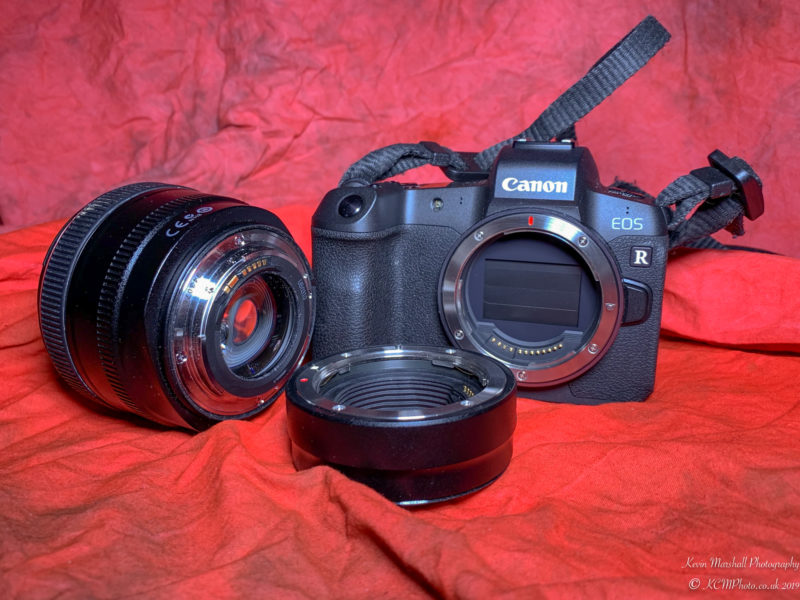
As usual, I’ll be taking the Canon EOS R with me, along with its RF to EF adaptor.
The lens choice is simple: I could choose many lenses, or I could choose one which would let every lumen of light in.
- Canon EF 50mm f1.2L Series – If there is a lens that screams portraits and a normal eye point of view – this is it. Whilst the f1.2 is a beast of a lens, and can deliver some lovely out of focus points (bokeh), an incredible depth of field… and can swallow light for breakfast – essential as I would be shooting practically in the dark. As I’ve pointed out before it has two major issues – it’s a heavy lens at 580g (or 1.28lb for those who use odd units at a single focal length).
Options:
- I could have gone for the native RF 50mm f1.2 Lens. Except if you thought the 24-105 f4L was overpriced, this lens rocks in a £2,199/US$2,299. That my friends is an epic chunk of change that could go to other things I want in life.
- I could have gone down the Canon range to 50mm f1.4, 50mm f1.8 or the Sigma variants – but I don’t have them to hand.
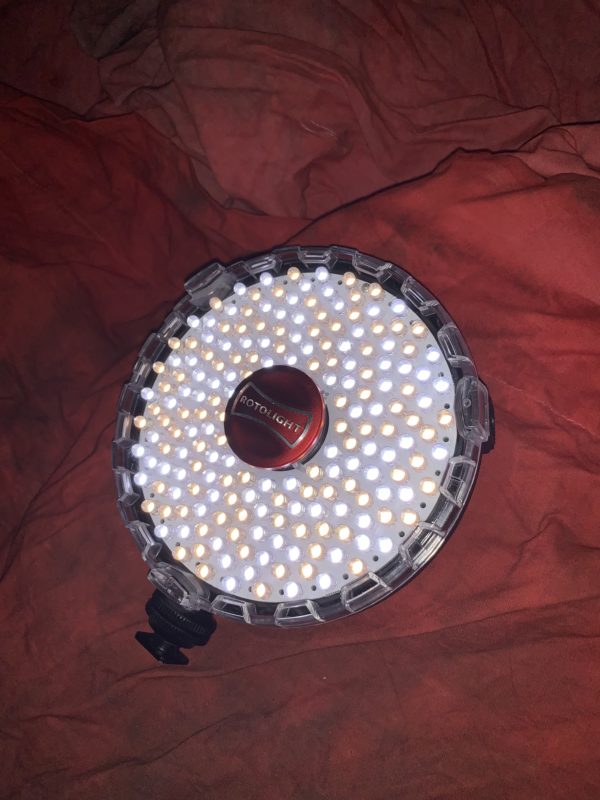
With the studio being a very large garden, the light would be limited by the ambient light from the house, and whatever nighttime light I could pick up. Therefore I reached for my Rotolight NEO II again.
I wrote about this extensively in the previous model shoot – and the points are still valid.
This time, I would be using the RotoLight Neo II as a floodlight, rather than as a flash. Which suited me, as I would be getting WYSIWYG (what you see is what you get) results, straight out of the camera.
I would also be using a pair of Rotolight RL48-B ring lights too – mainly as these would add extra light when needed – either by adding light to the face or behind.
So… How did I get on?
The Results
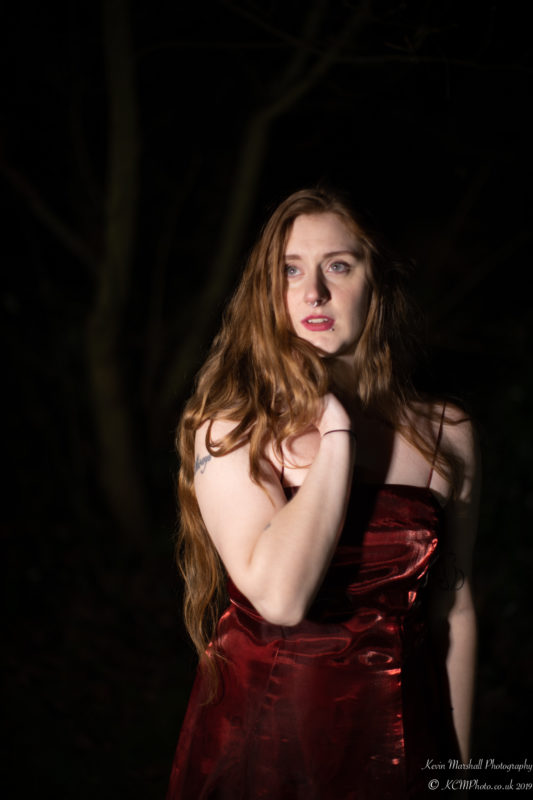
First out of the camera. Seren is light nicely. No background. If you look, you can just make out a tree.
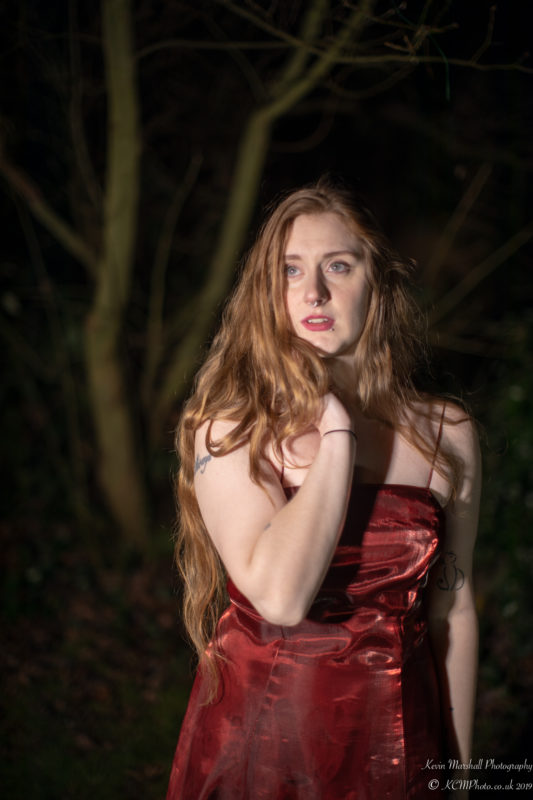
Putting on my pro-photography hat, shooting in JPG is always a bad idea, as there is very little latitude when things go wrong, or you need to make corrections. Shooting in Digital RAW format (be it Canon CRW/CR2/CR3, Nikon NEF, Sony ARW, Olympus ORF, Adobe DNG) allows you to recover colour spaces that may have been lost, or need additional processing through Adobe LightRoom, Hasselblad Phocus, Phase One Capture One and so on that can help you improve the content you shot.
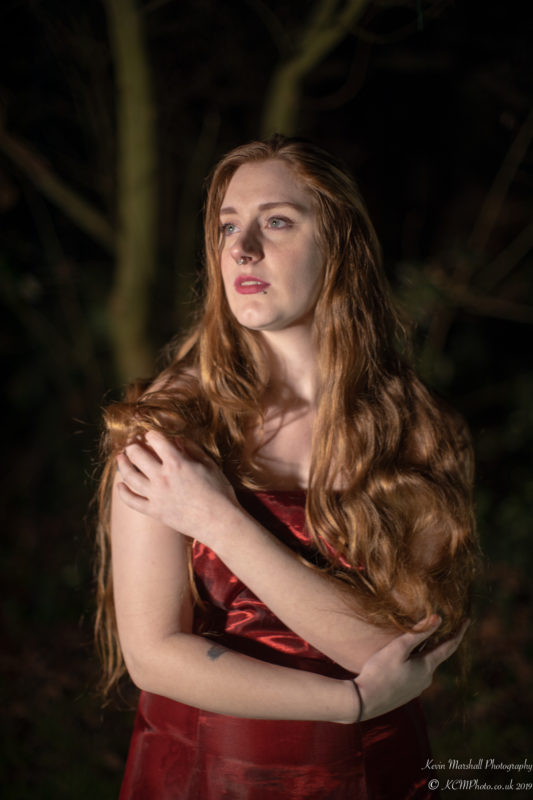
A lovely mix of shades and colours, with the 50mm f1.2 doing some work in the background, making it nice and creamy.
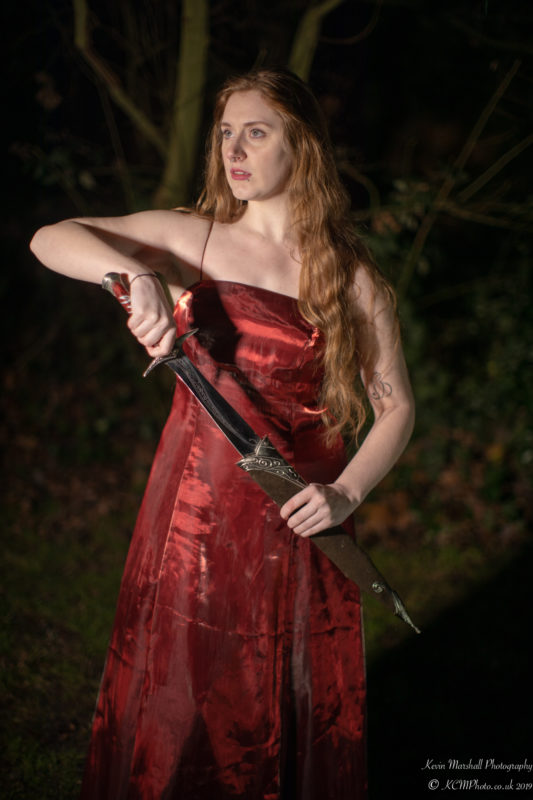
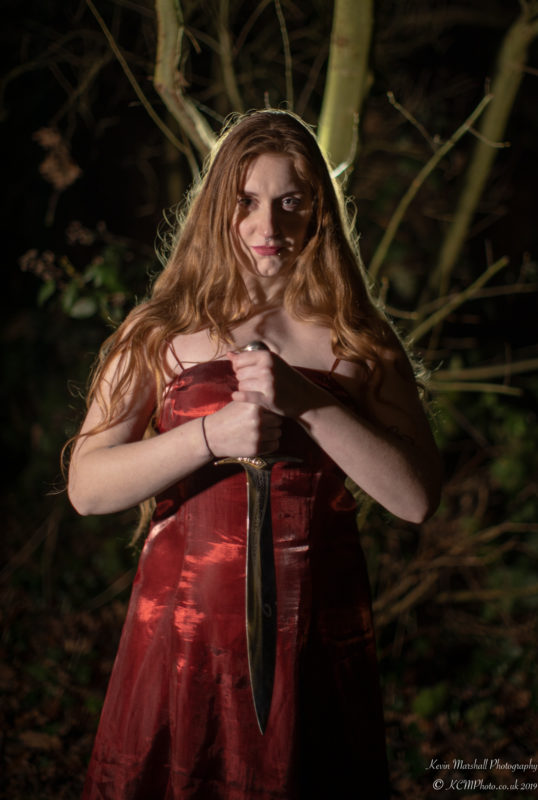
Props are always handy. It’s even handier when it’s the models own. The sword is, of course, a replica of Sting from the Lord of the Rings Trilogy.
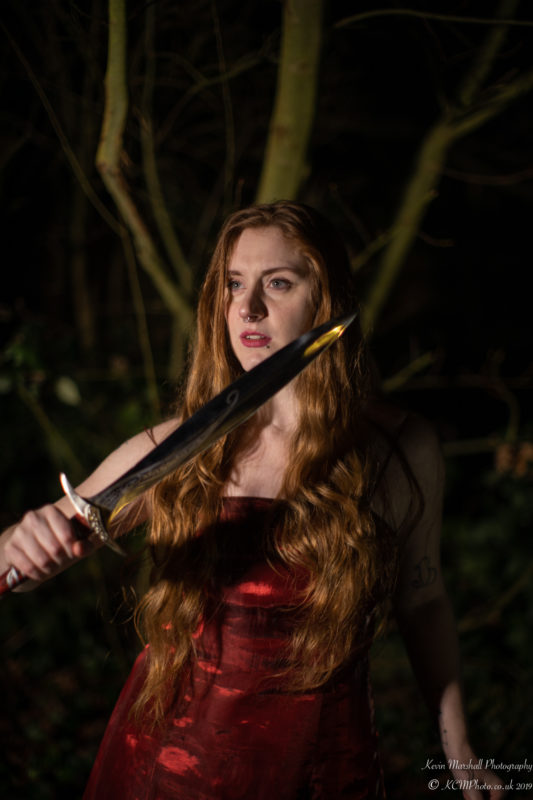
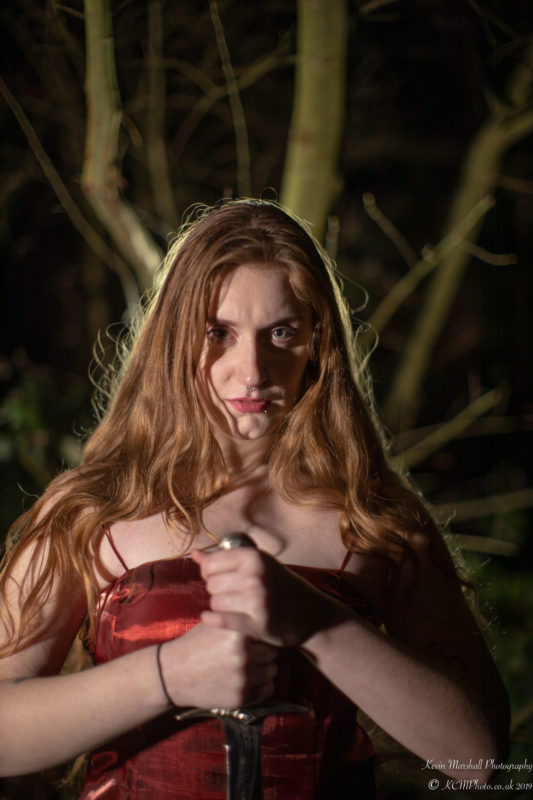
At f1.2, focus points become critical. I was aiming for the models face here… and I got the nose perfectly in focus. The eyes are slightly out of focus here. Whilst there is some level of eye tracking in the Canon EOS R, the Sonys are still the clear leader in this field.
What happens when you put a bit of light behind the model to create a hair-light? You can get some interesting effects.
In this case, we used a little Rotolight RL-48B to light Seren’s hair here – and it gives a subtle halo effect around the area. The main Rotolight is being used to light her face from the left, leaving a bit in shadow. I’ve lightened this up in Adobe Lightroom to make some of the shadows less deep.
A headshot of Seren gives us a much nicer view of the subtle lighing that a smaller light can give verses the overpowering effect. Trust me – we’ll come to that in a shake – and how it could work well – given the effect and circumstance.
Sometimes, it’s interesting to see how the EOS R performs with just minimal amounts of light. In this case, I’m using fairy light that I may or may not have used when I went to Chicago last and did the, and did the #avgeekfairylightchallenge. These lights are 30 LED’s, running off three AA batteries.
Combined with the f1.2 lens… rather well would be an appropriate answer.
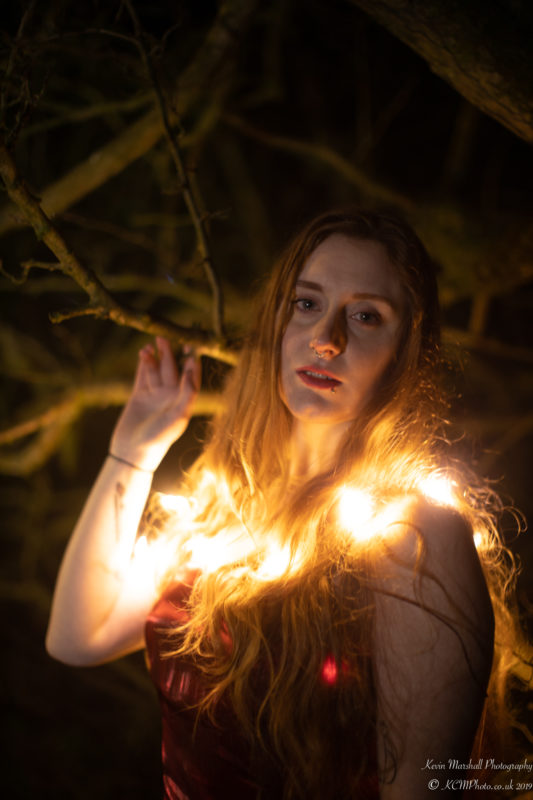
The LED’s create almost a halo effect around Serne’s top chest and hair. An interesting effect.
One of the things about photography is that unless you try something – you never know how it will come out and how it will look. The LED’s created the light source here – and the camera swallowed up the light. And yes – I used Adobe Lightroom to pull through some of the shadows too. Again – compare with the original.
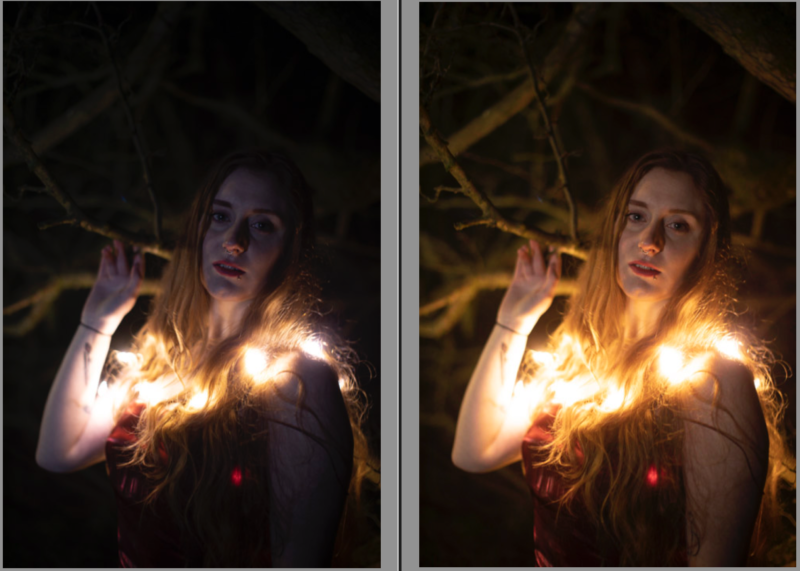
On the left – the original image
On the right – the edit, using the auto expose tool.
Enter Galadriel
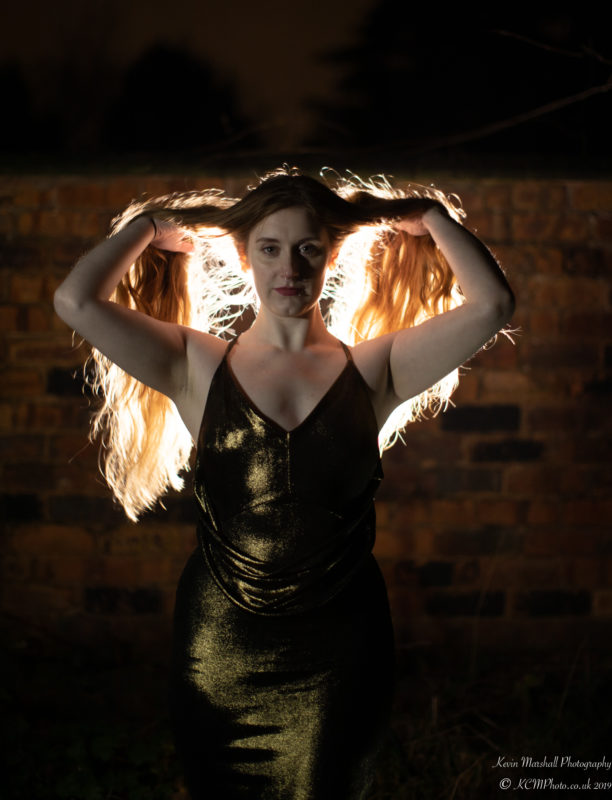
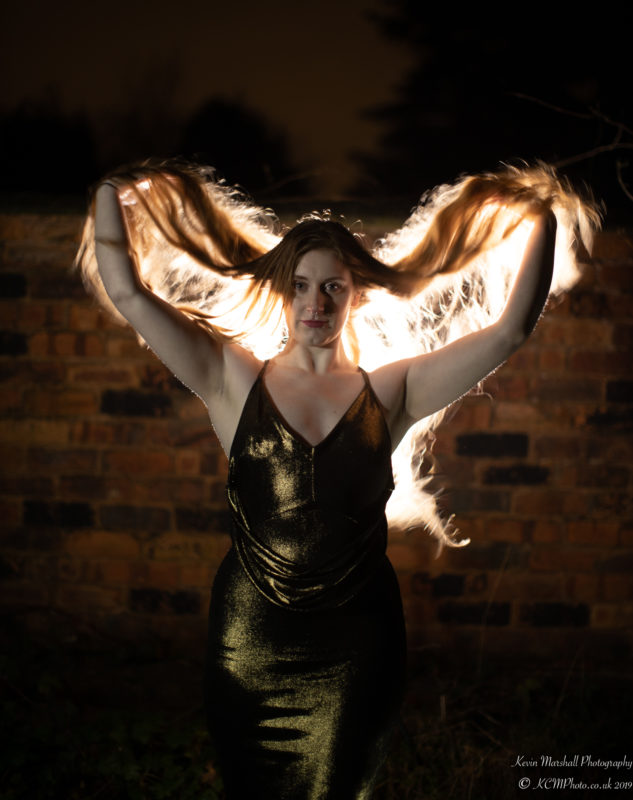
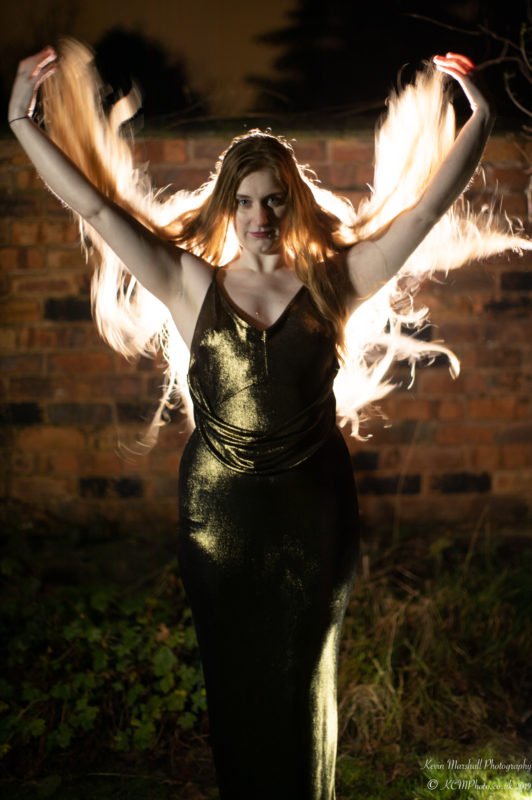
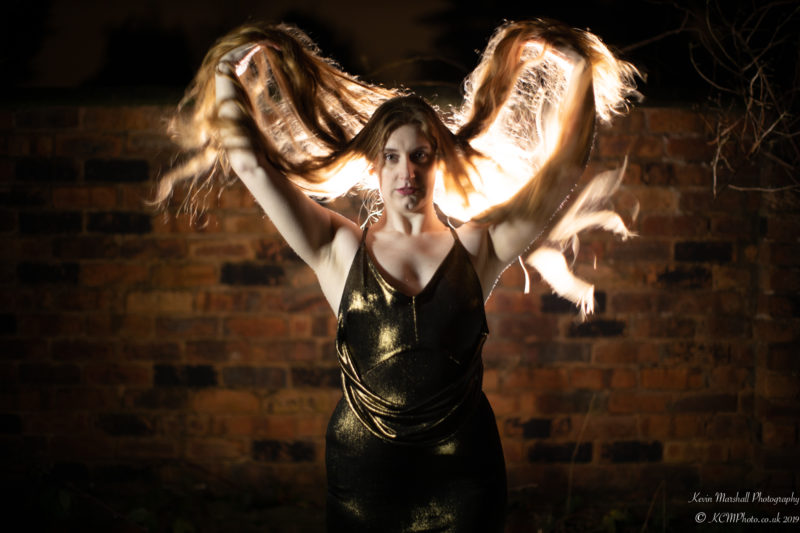
With J R R Tolkien running through our heads, we had the chance to do something with Seren’s Hair and go for a Galadriel (the Lady of Lothlórien). Whilst we couldn’t go for a full cosplay style of shoot, we could do something dramatic with the hair and the light.
Firstly I needed to ensure the place we would be shooting would be suitable. We found a wall, with Seren changing the dress she was wearing This actually shimmers a bit and makes the light work well.
With the set up done, it was time to place the Rotolight Neo II behind Seren it was time to try…
Now, if you looked carefully, the bottom right is light up well. Because, yes, a little RotoLight RB-48B is lighting up the dress.
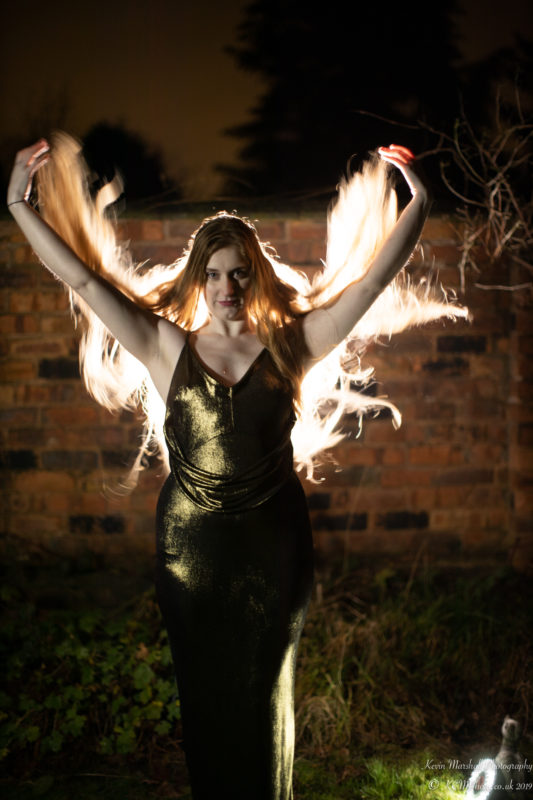
Duck holding the Rotolight not included.
“Instead of a Dark Lord, you would have a queen, not dark but beautiful and terrible as the dawn! Tempestuous as the sea, and stronger than the foundations of the earth! All shall love me and despair!”
– I love a good quote).
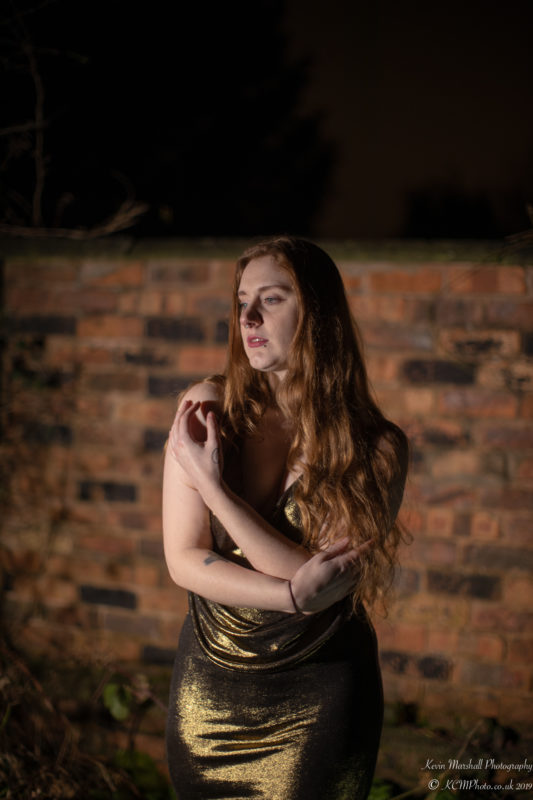
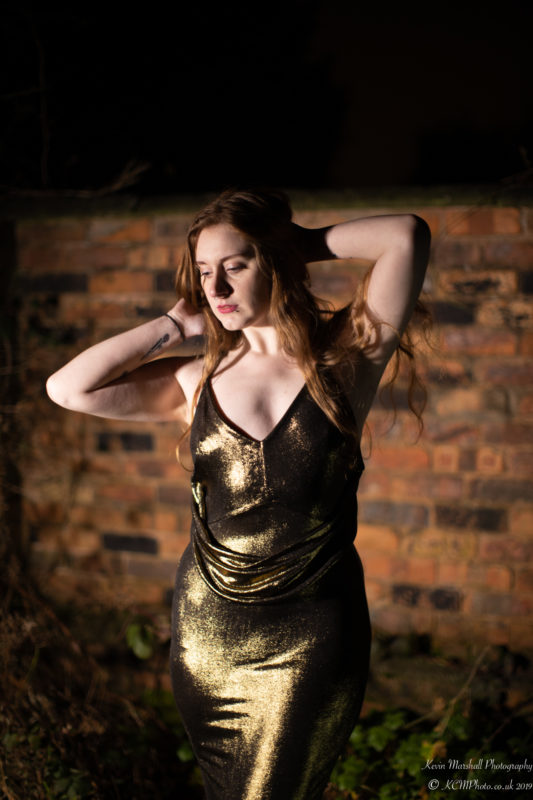
With the fun of that done and dusted, we moved on to reflective materials. This time, using the Rotolight as the main light again, and the model in a shiny lycra catsuit.
And for some reason – a 10p Zebra ride.
This was combined with two sets of fairy lights for a slightly offbeat set – and it works.
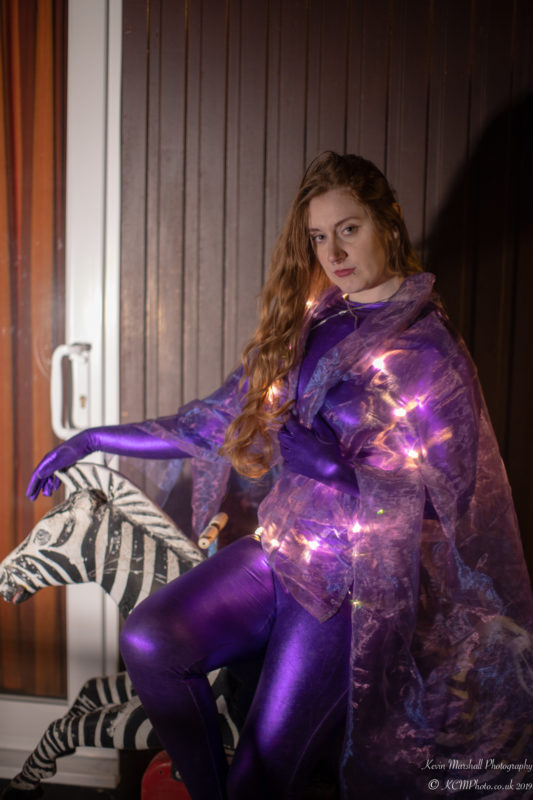
If you’re going to absurd, it’s best to do it in style.
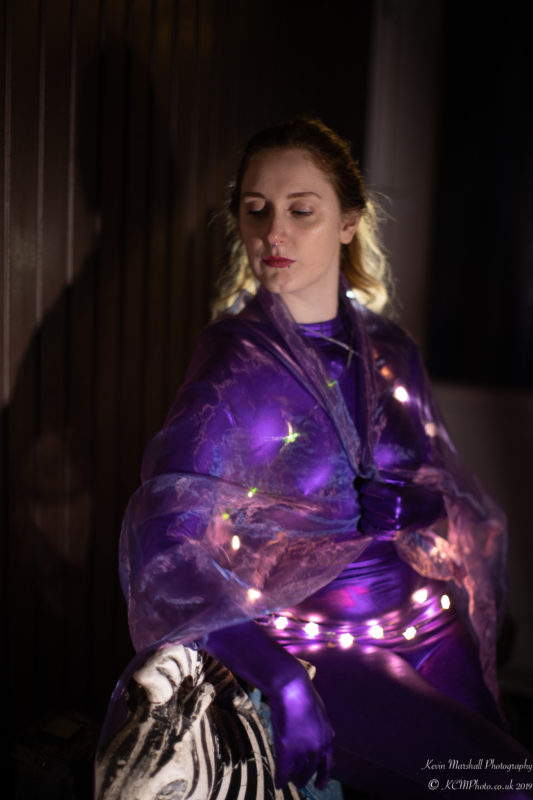
Because those fairy lights get everywhere.
Overall
I haven’t gone much into the settings – because, in a scene like this, it doesn’t matter as much. Rather, you’re trying to work with the minimal light to get the result.
The files the EOS R generated gave a LOT of latitude to work with, with nice low noise pictures. Combined with the Canon EF 50mm f1.2, it makes one heck of a combination when conducting portrait photography.
There were weaknesses – again I’m still working and learning about the tracking and autofocus on this camera… some of which I’m still struggling to understand (hey – you wanted honesty).
I am finding the tracking can be better when using the screen as a focus tracking mechanism – but again, this is all relatively new to me, coming from a camera with 11 autofocus points (versus the 4000 or so in this camera).
This is why I am doing the sort of shoots – to learn that this camera is capable of, and how I can achieve better results.
Thanks to
Thank you to Seren Wise who collaborated with me on this shoot. Her Facebook account is at https://www.facebook.com/serenwisemodel/, showing off some of the work she has done.
Also, thank you to her friend Jo who kindly helped find ducks and held lights whilst I tried some of these mad ideas out.
Next week
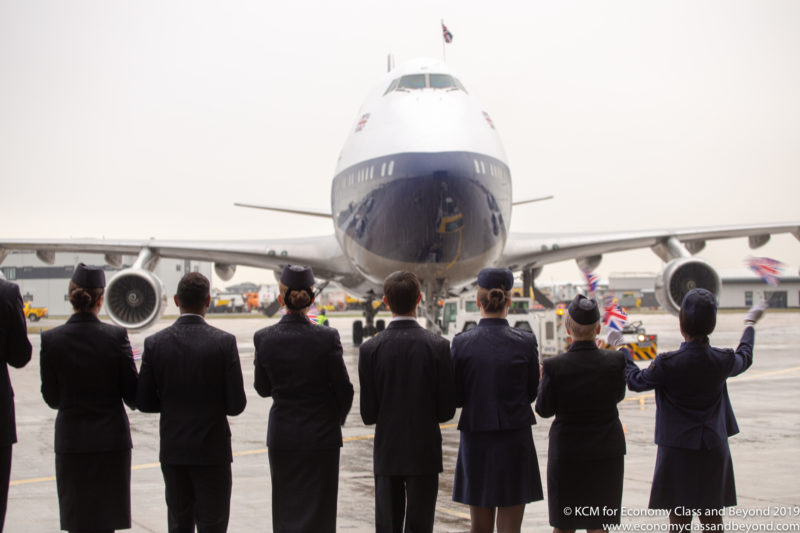
As you saw earlier this week, I was invited by British Airways to see the retro paint job being on veiled at London Heathrow airport on one of their Boeing 747-400s.
Next week in the EOS R Hands-on Series, I will take you behind the scenes what make that shoot work and some of the tricks are used to get the photos out – as well as some of the processing, to get those photos out as fast as I did.
See you next week!
Welcome to Economy Class and Beyond – Your no-nonsense guide to network news, honest reviews, with in-depth coverage, unique research as well as the humour and madness as I only know how to deliver.
Follow me on Twitter at @EconomyBeyond for the latest updates! You can also follow me on Instagram too!
Also remember that as well as being part of BoardingArea, we’re also part of BoardingArea.eu, delivering frequent flyer news, miles and points to the Europe Frequent Flyer.
