Studio Photography Life
Canon EOS R Long Term Review
In this series:
- Introducing the Canon EOS R
- City and Street Photography in Brussels
- Urban Exploration with a Model (featuring the RotoLight NEO II)
- Aviation Photography in Manchester
- Night time Model Photography
- The British Airways BOAC Boeing 747-400
- Living pains with the EOS R
- Studio Photography Life
- Not a conclusion, but the next steps forward
Well, it’s just over four months since I started this series… and we now come to one of the reasons I switched cameras from the EOS 6D to the EOS R – can it perform as well in the studio as it can in the field?
The brief
I run a small free photo booth for friends when I travel to Chicago twice a year. I get to meet new friends, take photos and have fun. However, I do like professional results… which is why I carry this stuff around when travelling…
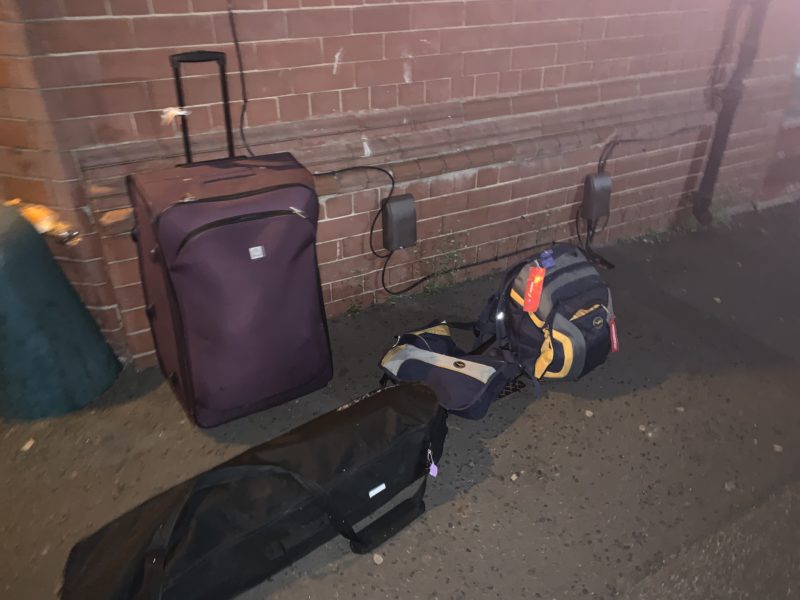
Don’t get me started on this kit. Especially when a certain British airline decides to re-flight some of the luggage without telling me….
With some changes to my workflow and kit, can the EOS R help me lighten my workload… and reduce my luggage allowance over time?
The setup
This is one of my most complex set-ups, which I’ll walk you through step by step.
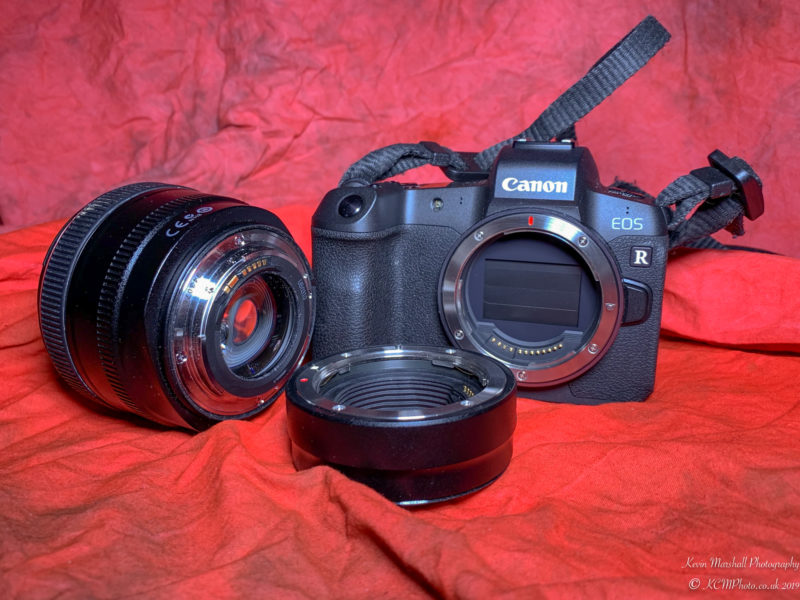
- The Canon EOS R with RF to EF adaptor
- Canon EF 24-105 f4L Series Lens
- Canon EF 50mm lens
I’ve gone through the alternatives a few times in this review, and they still apply.
The basic camera gear to say the least. I’ve brought a few extra things along for the ride too. Let’s move onto the studio kit, starting with the most important thing… lights
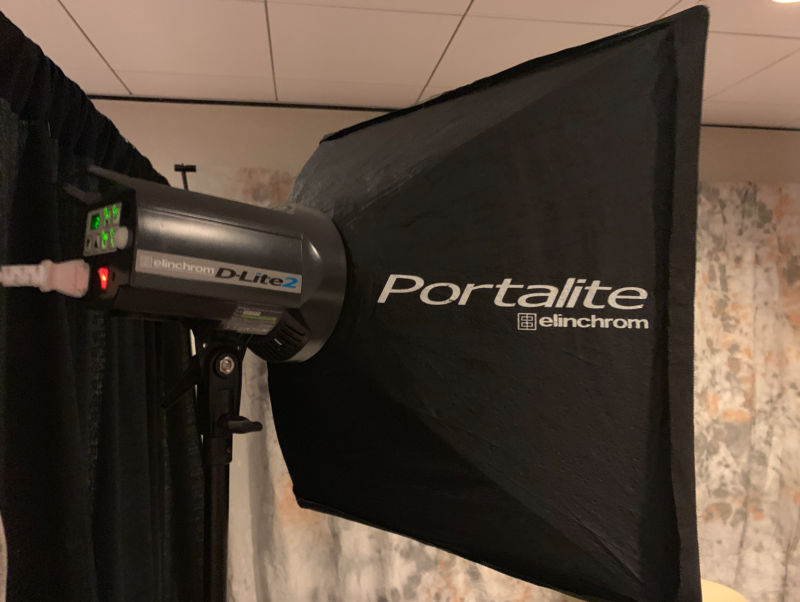
- Elinchrom D-Lite 2/D-Lite 2it – Two 200watt output flash heads. If there have been some constant friends on my photography adventures to Chicago, then the Elinchrom lights are those. They’re easy to use, configure and adapt (for example, put umbrellas, softboxes, octaboxes on). They also have the flash tubes are world voltage ready as opposed to some units which are 90 to 120v, or 220 to 240v. Of course, I’ve never found a modelling light that works in the USA…
- 1 x 66x66cm Ellinchrom Portalite softbox and 1 x 40x40cm softbox – I love softboxes and how they can turn a hard looking light much gentler. I’m not a fan of umbrellas in any form (be it reflective or shoot through) as they give a very harsh tone and sharpness I don’t like in photos. Whilst a softbox can be a pain to assemble, the results, in my opinion, are worth it.
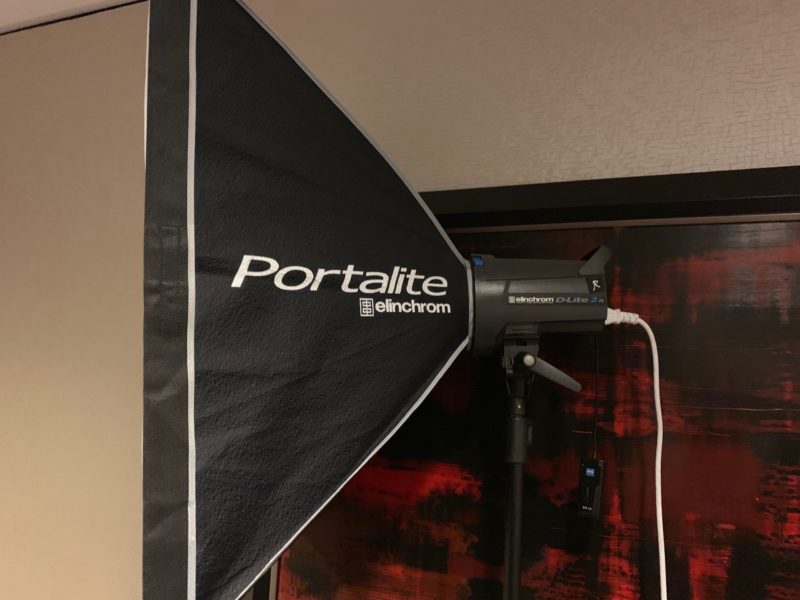
D-Lite 2it with 60cm square soft box (the other one isn’t pictured
- 1 x Neewer “cheap as chips” remote RT-16 trigger and hot-shoe mount – I tend to go for the cheapest radio trigger I can find. In the past, I used an infra-red trigger (which was quite reasonable… until it broke). I could use an Elinchrom Skyport to remote control this set-up…. but it’s more than a little excessive for my needs.
- And two air cushioned stands for these units to sit on.
Let’s build out the background system too
- 3 x Cross pieces to make a three metre long backdrop pole
- 2 x stands to support the pool and backdrop
- A backdrop – because 3 x 3 meters of fabric consumes a lot of space… and weight (when it comes to the heavy cotton/muslin backgrounds, weight adds up quickly). And if you think it doesn’t… try a 3 x 6 meter fabric backdrop.
When assembled, it looks a little like this:
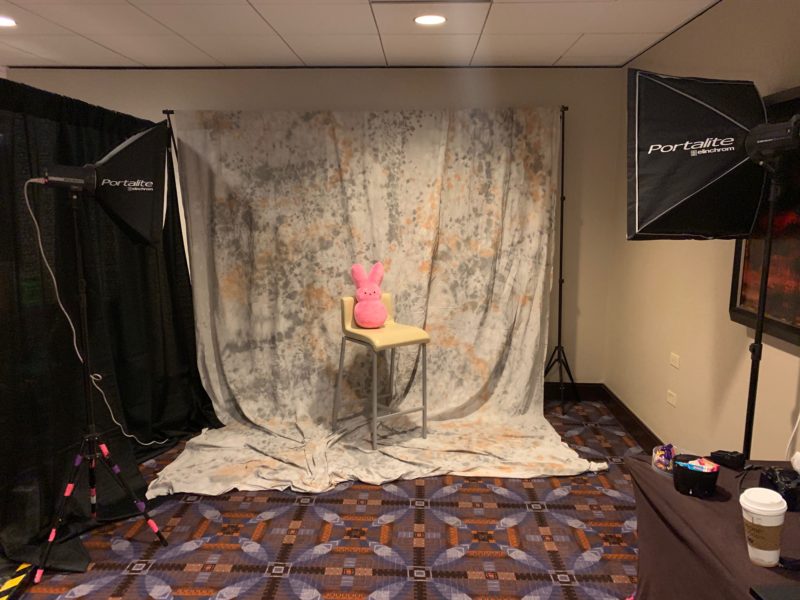
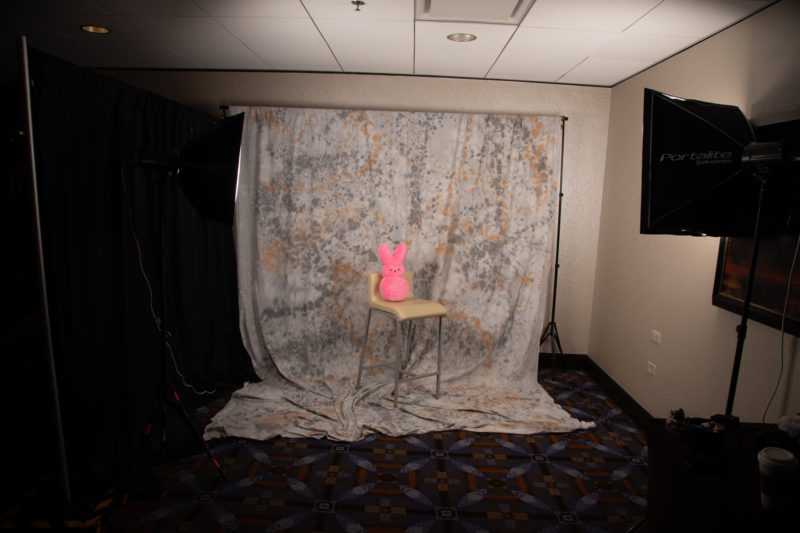
Some points. Yes. There is pink duck tape on the stand markers (its a good visual indicator). That’s not my choice of carpet (thank you Hyatt)… and yes. That’s another massive Peep. We’ll get onto that in a second.
This all collapses down into the luggage that I take with me over the pond.
Let’s test light it.
So, in test lighting, we are trying to ensure that the light is balanced all over, without any burned out bits. I also need a model to test light too. As some of my friends are camera-shy… I decided to employ a certain friend. I traded passage to the UK for it to appear on camera.
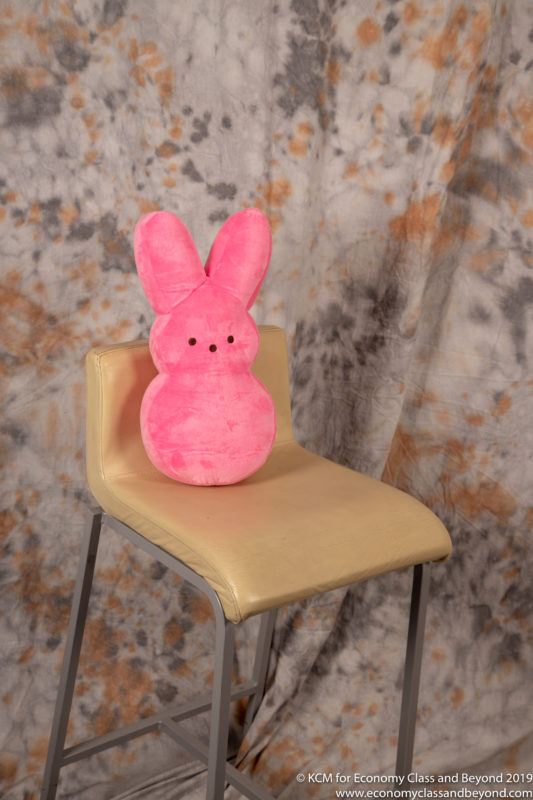
Ladies and Gentlemen… meet Peepette!
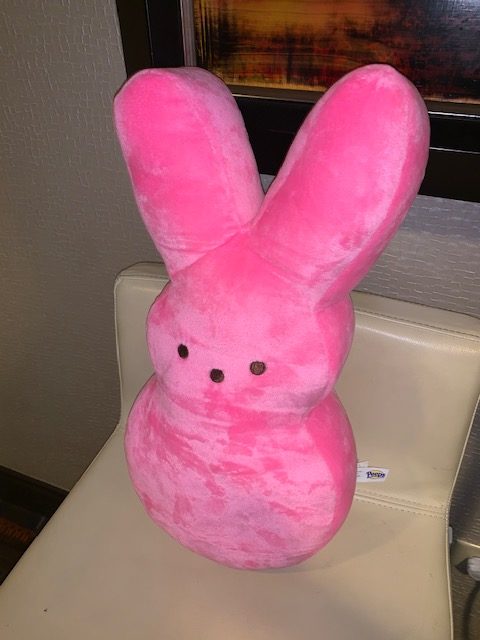
Peep! (Those of you who know my friend TravelPeep – it’s been moaning too much about world domination, eating souls and such. I need it to calm down a little. I’m hoping Peepette will help in this matter).
In terms of configuration, I’ve set the lights to output the same amount of power to 2.6 – just over 50% power. The same power level is used per flash head, as I’m looking for a nice even spread of light.
D-Lite 2it with 66cm square softbox (the other one isn’t pictured)
- 1 x Neewer “cheap as chips” remote RT-16 trigger and hot-shoe mount – I tend to go for the cheapest radio trigger I can find. In the past, I used an Infrared trigger (which was quite reasonable… until it broke). I could use an Elinchrom Skyport to remote control this set-up…. but it’s more than a little excessive for my needs.
- And two air cushioned stands for these units to sit on.
build out the background system too
- 3 x Cross pieces to make a three-metre long backdrop pole
- 2 x stands to support the pool and backdrop
- A backdrop – because 3 x 3 meters of fabric consumes a lot of space… and weight (when it comes to the heavy cotton/muslin backgrounds, weight adds up quickly). And if you think it doesn’t… try a 3 x 6-meter fabric backdrop.
When everything is assembled, the studio looks a little like this:
The photos.
As most of my work is… what the term I’m going to use here… sensitive, alas you’re going to get pictures of Peepette. Typically I shoot with small capacity SD Cards (32Gb or 16Gb) mainly as I need to ensure I can get the images off a card fast. 64Gb and 128Gb cards make it a lot harder in this respect, as you have to index the card before import and are ignoring duplicate import files.
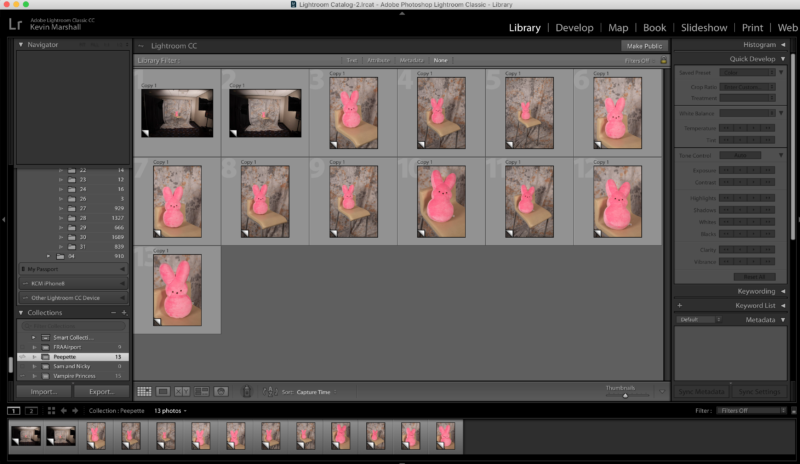
Here’s the RAW output into Adobe LightRoom
I could use Camera RAW and JPG, but I found I never used the JPG’s, and instead preferred to hand-tone the images in LightRoom.
And by Hand-tone, I mean pressing the Autotone button. Compare and contrast the below
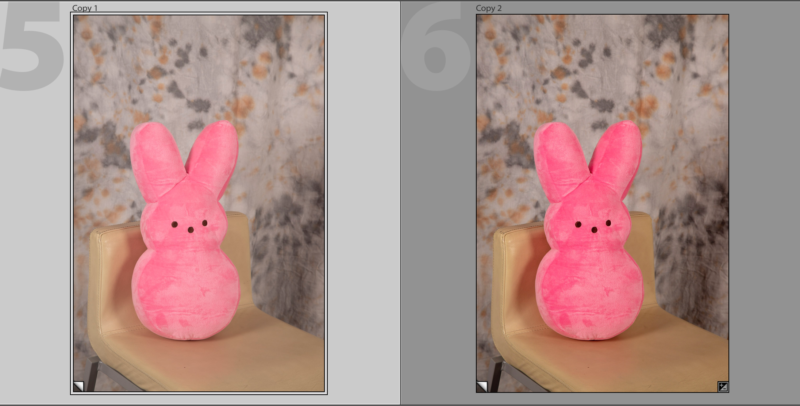
Original left, Corrected Right.
Toning is a personal choice and can be better managed using a XRite Colour palette matcher and tools like this. I prefer to judge by eye. For this, I bump up the brightness of the laptop and compare the real world background to the one on the camera on my test images to refine the workflow I use.
And yes, there and be differences, which is why its good to get it right the first time, and don’t just trust every Adobe Colour setting you’re throwing at it.
Because if you do, you might find yourself re-colouring photosets into midnight – because that will happen when you least expect it.
Besides, Peepette’s fur looks better I think we can agree
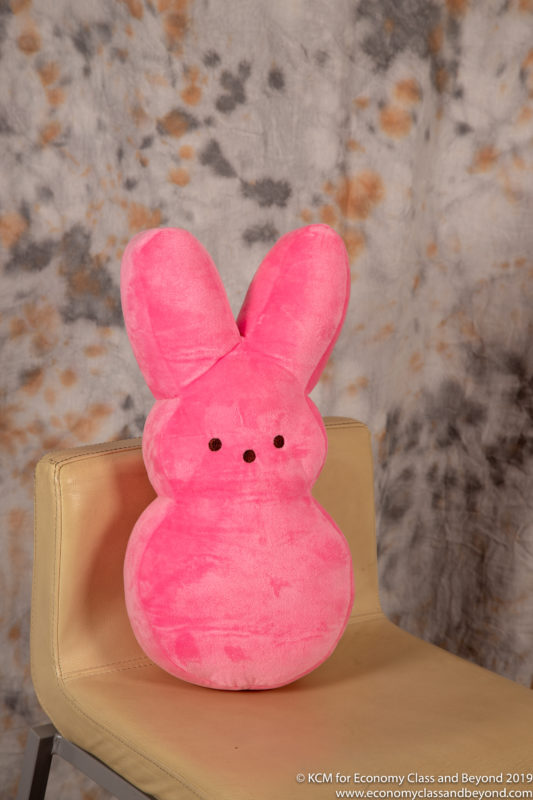
Peep! (this is my best side!!!)
Working with the camera proved to be as easy once the settings were dialled into it, and I could control it. And yes, there was a learning curve too, both in taking the images, and processing them as well (pretty much like any camera).
Again, experience helps a lot in terms of Flash recycle times (pro-tip, level the bleeper on, or if you can’t – count to three).
The EOS R helps in its own way with image review functions and capturing the images in a controlled way, and in many ways – is similar to using any other Canon DSLR in the studio (this includes the Canon EOS 6D, 50D, 40D) when you set it up to the way. Certainly, the sensor size gives you more opportunities to crop images, edit out bits you don’t want and so on.
There are a few new things that helped me – in no order:
- The ability to trigger a flash with Live View Mode activated – a big change and a welcome change.
- Using the flip out screen for certain angled shots
- The Live Sensor view gives a true “what you see is what you get” (even for allowing for corrections for the in-camera settings)
There are a few issues that didn’t help
- Power consumption – The EOS R’s power consumption isn’t great, to say the least. It can chew through a battery without trying (and I’m using the official camera battery), and I felt I was reaching for the charger more often than I did with the 6D. Thankfully LP-E6 batteries are cheap as chips (although the LP-E6N batteries are still overpriced)
- That fudging touch bar. Absolutely useless for reviewing images and content. Give me a scroll wheel please or a manual interface please… and not the squidgy arrow controller at the back of the camera.
Next steps
There are some next steps for this set-up, as I consider how to reduce the weight further. And most of this can be directed at the Elinchrom DLite kit I run. Whilst the flash heads are “light” compared to some metal-bodied units, I live in fear each time they travel – they come out at the other end in bits or with a broken flash tube. With LED lighting becoming more accessible and cheaper (as well as multi-voltage friendly), I am seriously considering switching to two RotoLight Neo II units to deliver the light (with softboxes and such).
There is a lot of experimentation before we get there though.
Overall
For a studio set-up, I need a camera that can help me deliver results again and again, with a minimum of fuss, allowing me to process images fast. The EOS R slipped into this workflow without any major issues, with a few benefits on the way, whilst getting the images I wanted.
Yes, it might be a bit overblown for studio work, but it does the job that I ask of it.
And when people are waiting for their images to be sent off… it’s all I can ask of a camera.
Next up: Not the end. By any stretch.
Welcome to Economy Class and Beyond – Your no-nonsense guide to network news, honest reviews, with in-depth coverage, unique research as well as the humour and madness as I only know how to deliver.
Follow me on Twitter at @EconomyBeyond for the latest updates! You can also follow me on Instagram too!
Also remember that as well as being part of BoardingArea, we’re also part of BoardingArea.eu, delivering frequent flyer news, miles and points to the European Frequent Flyer
