Travel Technology – A brief wander into Zürich featuring the Canon 50mm F1.2
“Life, The Universe and Everything”
Contents
- In the beginning I begun to write this trip report. This made a lot of people very angry, and has been widely regarded as a bad move.
- First action of being 42 – Coach 210, British Airways Galleries South
- BA710 London to Zürich in Club Europe
- A brief wander into Zürich featuring the Canon 50mm F1.2
- Mostly Harmless – The Zürich Airport Observation Deck
- The Aspire Lounge, Zürich Airport (B/D Dock)
- BA717 Zürich to London in Club Europe
- The Race, The Coach, The Cold
- Six by Nine? Forty Two?
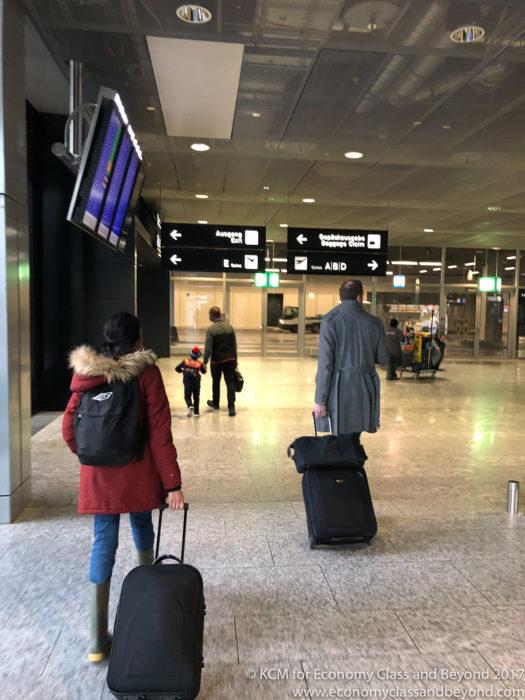
With me off the plane, I followed the signs to arrivals and the exit. Whilst I intended to spend some time at the airport, on the ground floor of a terminal isn’t my exact idea of comfort – or spotting opportunities.
Exiting the plane, I was deposited in the D Dock section. This necessitates a hike around the airport to immigration
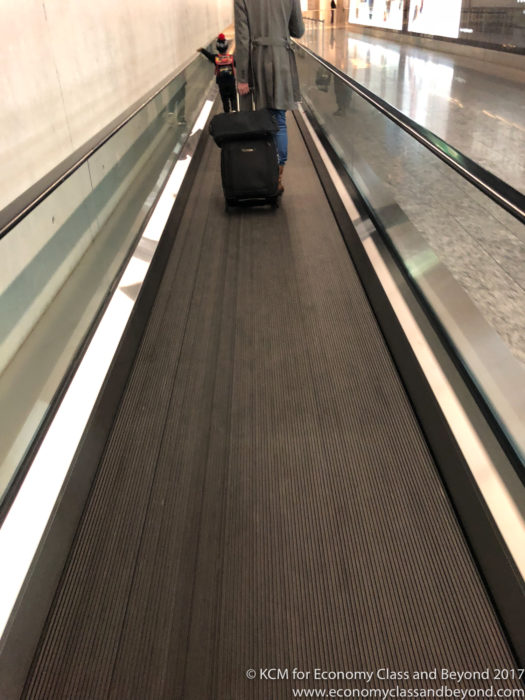
One thing I liked as I was heading to arrivals was the rubber travellator. Like the ones in Heathrow Terminal 4, they’re bouncy when you walk on them
Bounce, bounce, bounce…
Clearing this – I arrived at the border, and cleared it electronically. That done, I was in luggage delivery area and the final duty-free shop.

Although snowmen love shopping at Zürich Airport.
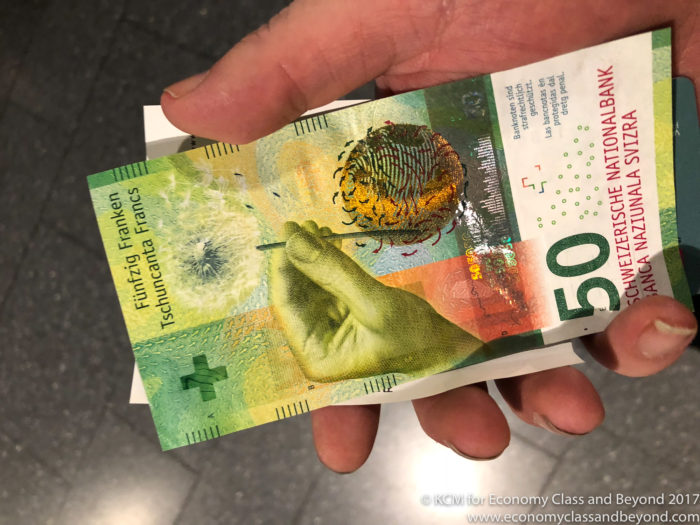
I cleared the Green channel and entered Zürich Airport. With that done, I headed to the cash machine to get money out.
These days, for small transactions like this, it’s easier to hit the ATM for spending money – rather than going to a currency exchange place.
Also, skip the currency exchange places at the airport. But then I told you all that earlier this year.
With some spending money in hand, I had two options.
- Go and watch planes straight away.
- Go into Central Zürich and have a walk… and get some chocolate.
With return fares to Zürich costing the best part of CHF 13.20, I sighed and tapped my credit card for a fare.
Oh yes – their ticket machines support contactless payment. That’s handy to know. And they’re mostly harmless.
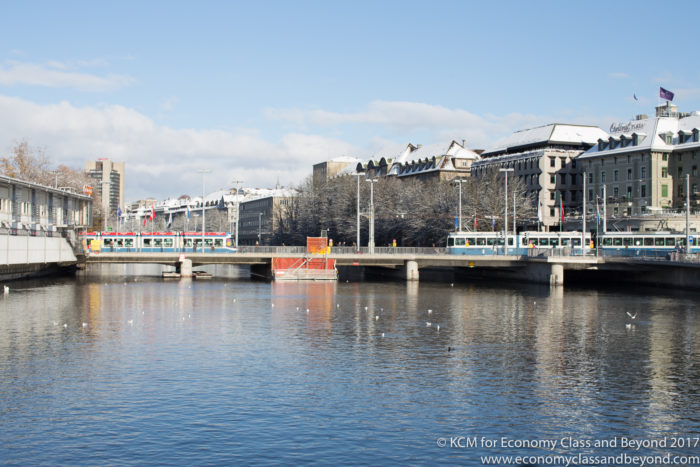
As we’re in town, I thought I’d show you more of the Canon 50mm f1.2 lens and a few of the tricks it can do.
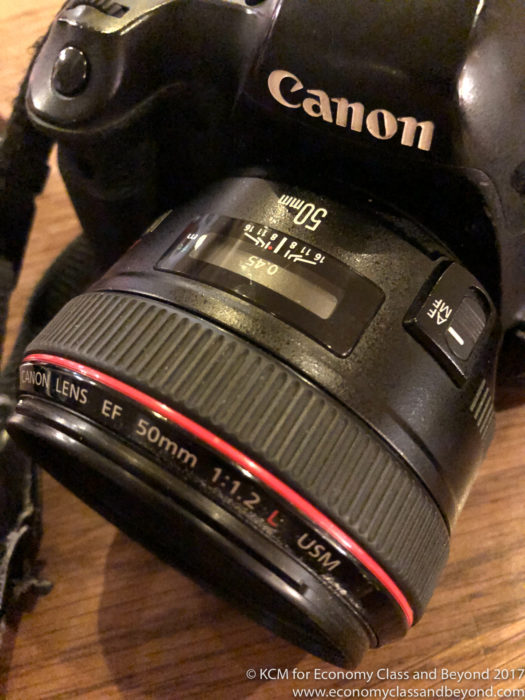
Canon 50mm f1.2L USM mounted on a Canon 6D – Image, Economy Class and Beyond.
So – a quick introduction – Canon make up to four different 50mm lenses for various different purposes and prices points. And all have positives and negatives.
- The F1.8 Mark 1/Mark 2- Cheap as chips and you’ll get lovely images during the day. Downsides – it’s plasticky as hell (and that’s including the new version). Light as heck, but has a loud autofocus motor. And cruddy bokeh. Best found on the second-hand market.
- The F1.8 STM (Stepping Motor) – an upgrade from the original. Whilst it retains the same optics, the lens has more blades, leading to better bokeh.
- The F1.4 USM- A lot better build wise, and still get lovely images in low light and semi-decent bokeh. The Ultra Sonic Motor used isn’t totally silent, but better than the STM/Mk 1/2 models. Fairly decent weight.
- The F1.2 – Welcome to razor-sharp shallow depths of fields and creamy bokeh that f1.2 can give. Whilst the lens swallows light for breakfast, it is slow… and rather heavy.
In the past, I’ve owned a lot of the 50mm’s (except the STM version), and the range is very useful one, as 50mm can be considered what the eye can see comfortably and naturally.
So a standard lens gives a lot of creativity options (shoot what you see), with the f1.2 opening up some serious depth of field and bokeh options. And at f1.2 – that’s razor-sharp at one point, down to coming into focus.
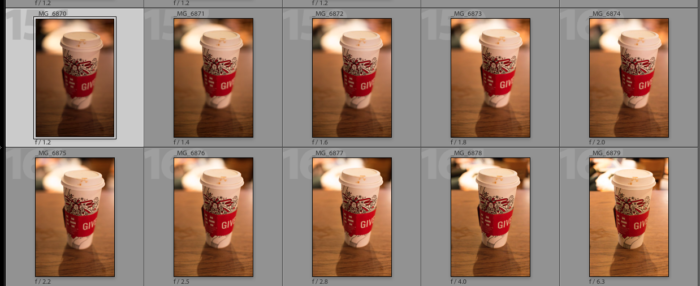
Here’s an experiment I did with it, where the focal point was fixed on the top present. The depth of field in the first one is tight, with it changing as the aperture increases. (I’ll put the results in a gallery one day for you to play with).
There are plenty of reviews for this lump of glass, but how does this lens work out in the field?
From a handling perspective, you do know this lens is on the body. On a 6D, you’re lugging 1.3kg on your shoulder – which during a day, can be a fair old weight.
The autofocus motor, whilst silent, is a lot slower – and in some situations, does hunt a lot for a focus point.
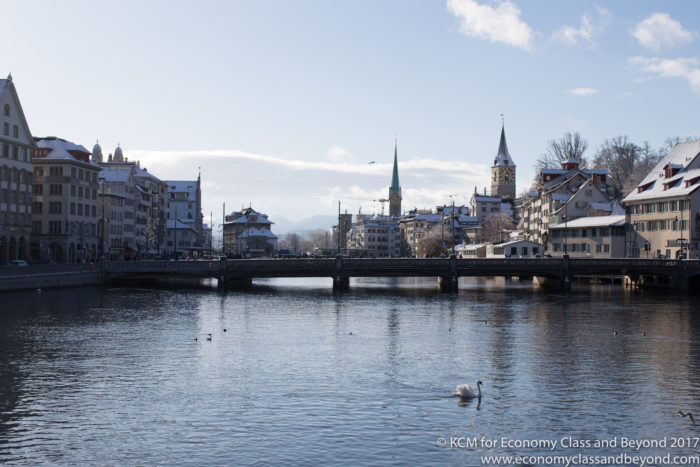
So, some things to bear in mind. Let’s go exploring, and a short walk around Zürich.
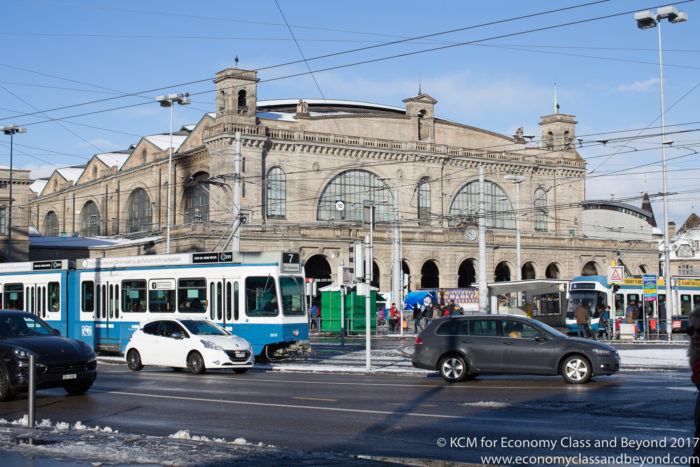
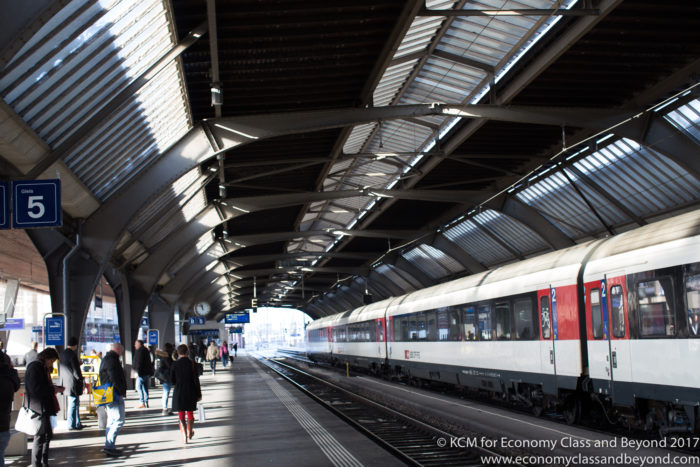
We’ll start off in Zürich Station.
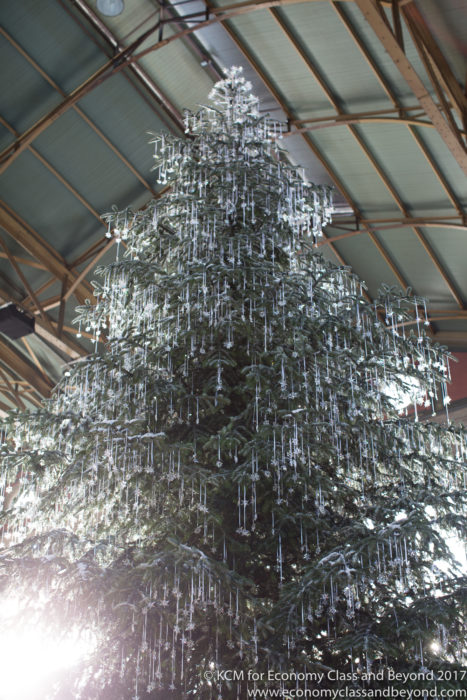
So what to see here? Light in odd positions everywhere, with a bit of burn out on the far left. The rest of the image is nicely controlled.
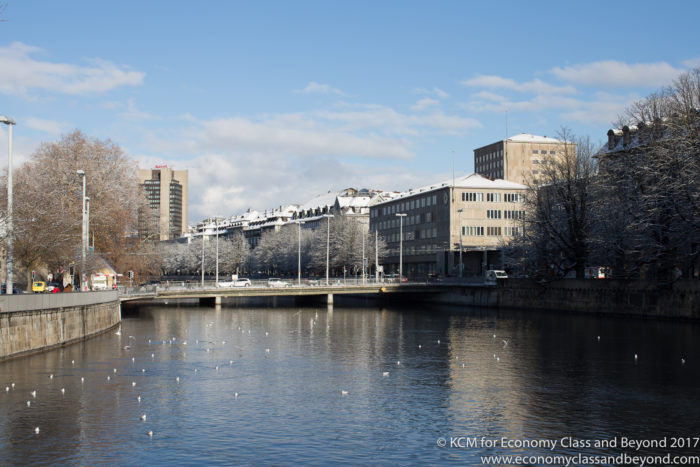
There is something to be said about how nice to the eye “Canon Colour” is.
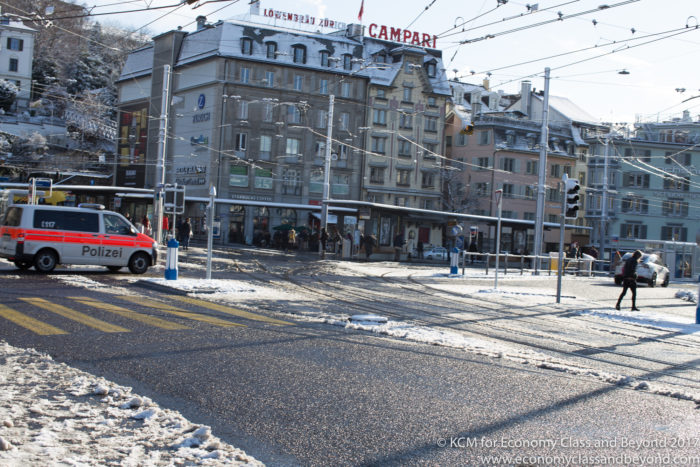
With bright sunlight, a hood is essential for photography. Good thing this lens comes with one.
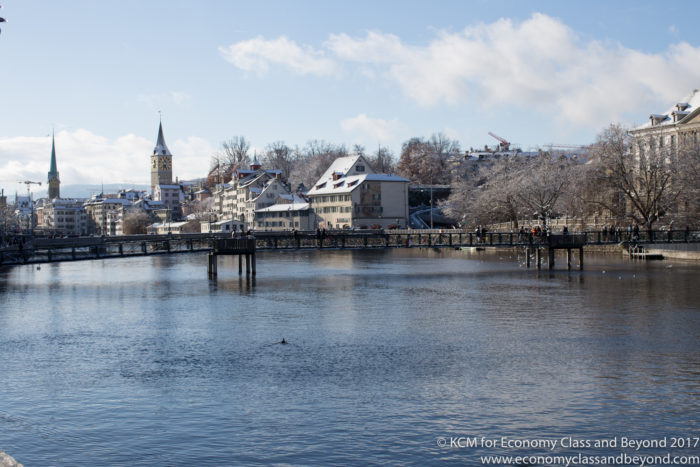
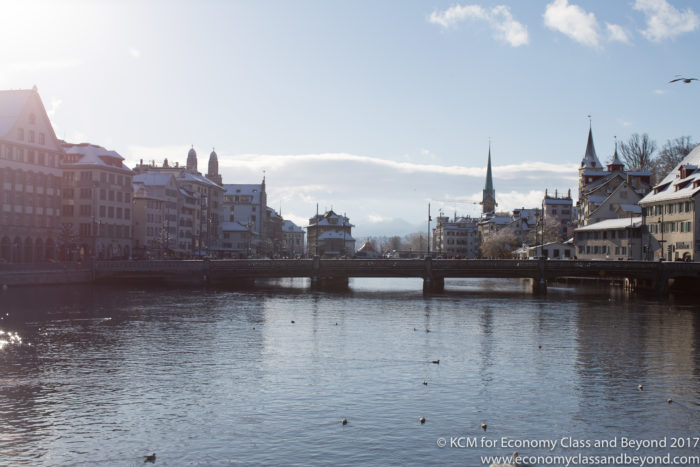
Again, shooting against the light leads to some lovely controlled images. Sharp across the range.
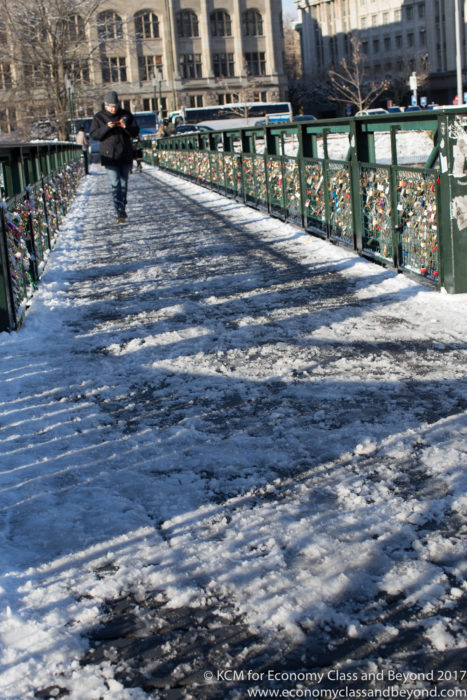
I found a footbridge to cross, which had love locks. Some interesting targets ahead.
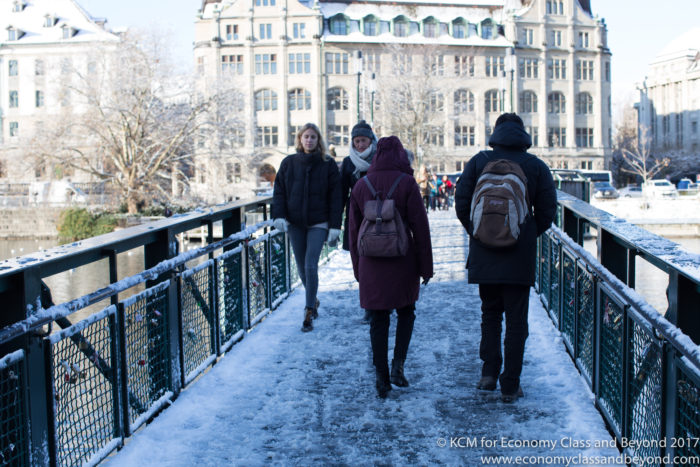
Again, the camera handles the shadow and light nicely to create a balanced image here.
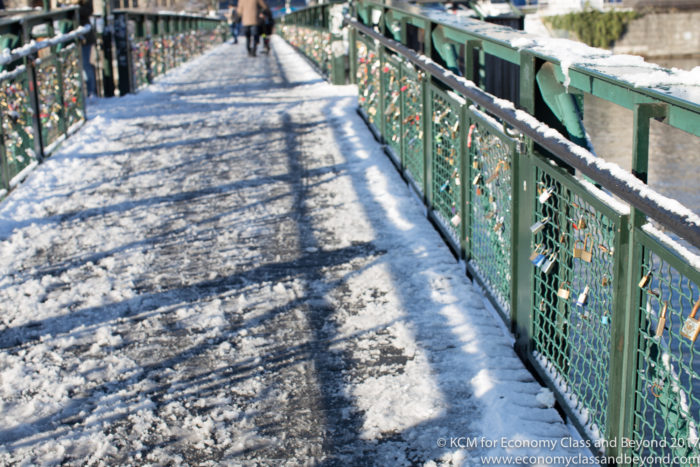
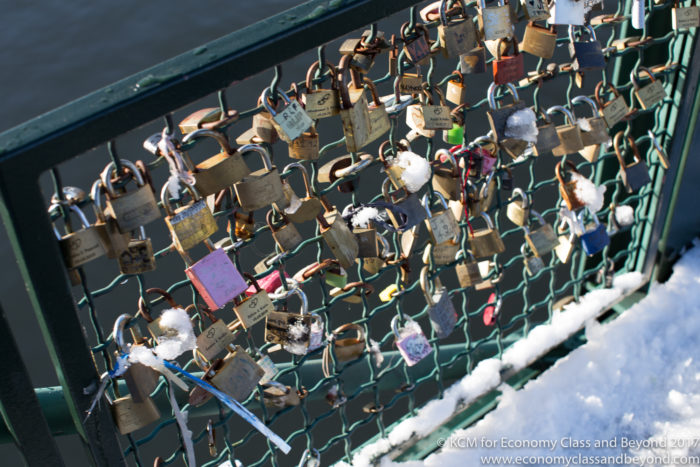
The focal point was set to the right here… minor oops.
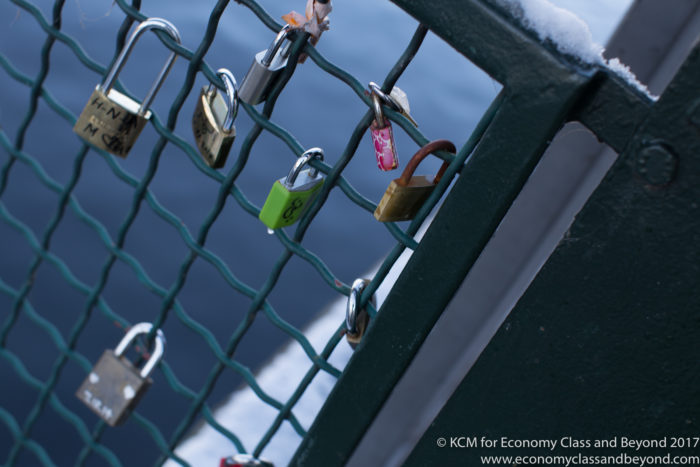
To drive an f1.2 in these conditions, you need to really consider a neural density filter. Of course, muggins doesn’t have one to hand when travelling. But that doesn’t mean you can’t be creative.
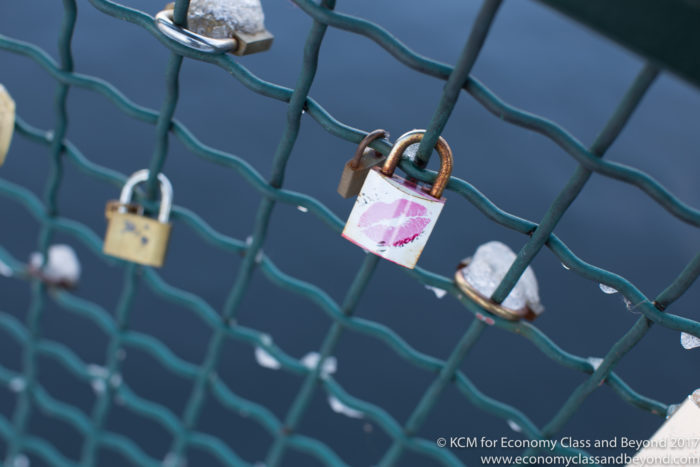
The Focal point was set on the lipped lock. f4.0
A 50mm gives a nice rounded view of the world, with minimal distortion and to my eyes – always looks “right”
Flair is reasonably controlled, with no stripes of light.
Even the train station looks passable in this light
The train shed is well-lit in this photo… and of course… a little chilly.
Whilst this isn’t a fair test (least of all the lens was working waaaay above f2), I’m adding a few pictures in from the trip to show you what you can do with it at f1.2
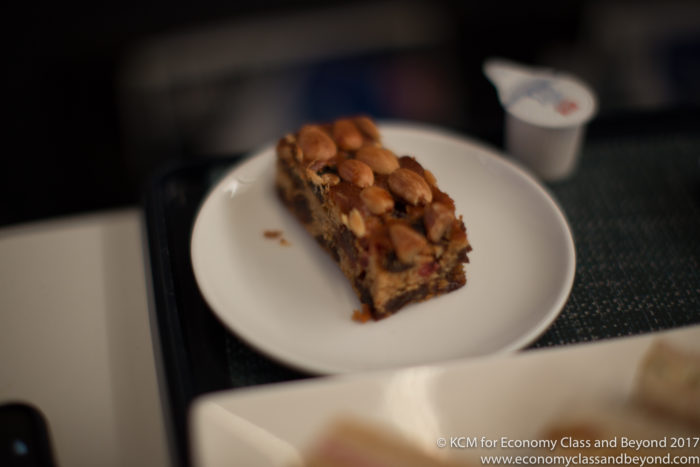
f1.2 on this Dundee cake. You can see the focal point is on a certain nut, and everything else fades away gently.
F1.2 is also another thing: a light monster. It means if you like taking pictures from a plane at night of cities… you can do it handheld and at high shutter speed (and disposing of a lot of blur).
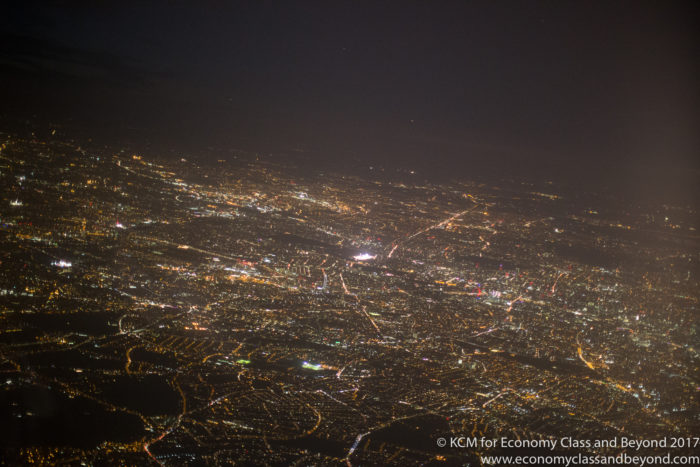
North of the river f1.2, 1/125, ISO5000
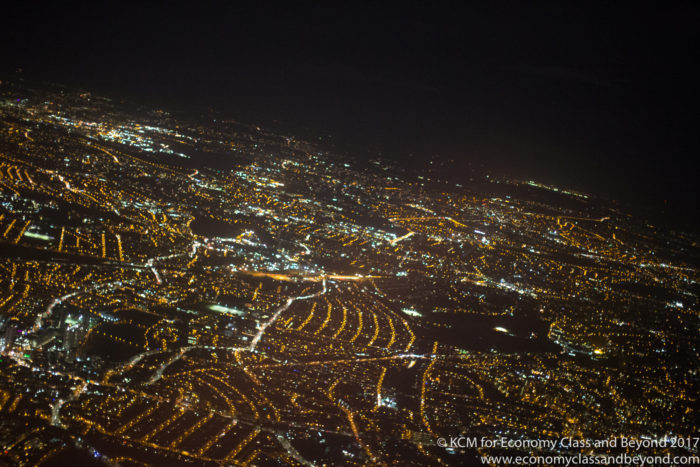
South of the river f1.2, 1/125, ISO6400
It also works at low speeds when passing terminals and planes
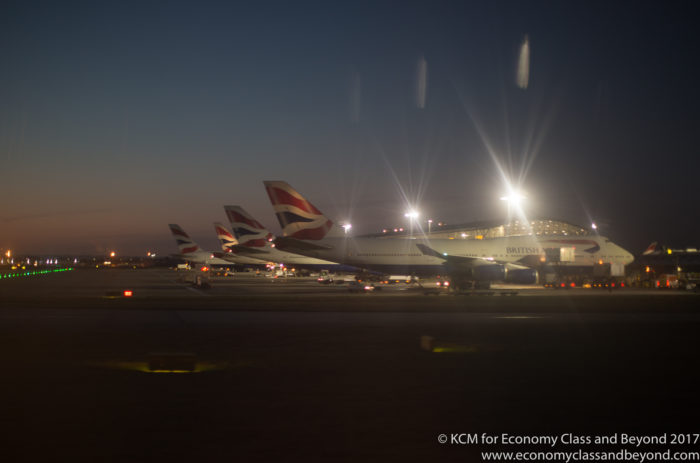
Speedbirds at T5C – f1.2, 1/40 ISO320.
Initial Thoughts
This is a light test of the lens (and I’m still working out how to use it), so here’s my first thoughts on it.
The lens is a monster – make no mistake and it can swallow light for breakfast and can make images full of creamy goodness, with just the right amount of sharpness if you aim the autofocus points correctly.
But, it does have limitations.
Whilst f1.2 is a wonderful thing to have, you pay a major penalty in weight and autofocus speeds. In the studio or in controlled environments, this doesn’t matter much. In the street where conditions are changing all the time and you need to move fast, this isn’t helpful.
In some cases – you might want to aim for a Canon f1.4 or even the f1.8.
And there’s one thing I haven’t talked about yet – cost. (US prices B&H Photo, UK prices Wex Photographic)
- 50mm f1.8 STM – US$125 / £106.00
- 50mm f1.4 USM – US$329.00 / £349.00
- 50mm f1.2L – $1,299.00 / £1,272.00
This isn’t a pick up and buy lens in my opinion – it’s one that needs a lot of thought before picking it up. If anything , you’re paying for at magic f1.2.
If you’re planing on a day walking around a city, go for the f1.4 or f1.8 – your shoulder will thank you for it. If your work is taking you towards evenings, night or very detailed work – the f1.2 is worthy of consideration.
I’ll have a full write-up later in the year and about some of the applications I use this lens for (least of all, this is becoming a fast favourite of mine in the studio).
But test it before you buy it. It could be an expensive purchase for minimal benefit.
Next: Lets go spotting at Zürich Airport!
Welcome to Economy Class and Beyond – Your no-nonsense guide to network news, honest reviews, with in-depth coverage, unique research as well as the humour and madness as I only know how to deliver.
Follow me on Twitter at @EconomyBeyond for the latest updates! You can also follow me on Instagram too!
Also remember that as well as being part of BoardingArea, we’re also part of BoardingArea.eu, delivering frequent flyer news, miles and points to European Frequent Flyer.

I scored my f/1.4 for $300 CAD second-hand some years back. Absolute bargain and a joy to shoot with.
There’s also an EF 50mm f/2.5 Macro if close-ups are your jam.
Brilliant shots as usual Kevin!
The f1.4 is a great little lens – I’ve had one myself (the motor can be a bit annoying though), and it knocks out cracking images.
In terms of weight/performance/cost, not a lot beats it.
Mine has seen better days (it was a duty free thing from Seoul one trip), but the focusing motor needs a service on mine… and the cost of the lens repair may put it out of contention.
Another little fun lens is a Sigma 50mm f2.8 Macro. Now that’s a lens for an article some day…
I know that travel and quilting don’t usually go together, but what kind of a combo would you suggest for a beginning photographer? I make quilts, bags and tabletoppers, and almost always use natural light to show off the colours best. My photos need to range from full size projects, down to details like stitching. Right now, my camera is my ZTE cell phone (horror of all horrors, I know). I do love how your pictures turn out, especially the one of the nut cake, how its only focused on one area. For close ups, that would be a perfect type of setting for me.
Hi Amy.
I’m a very strong believer of the term “the best camera you have is the on that’s in your hand”. In the trip reports, it’s a mixture of Camera phone (iPhone 6/7/8) and the Canon DSLR I have.
If you’re looking to move beyond camera phones, seriously consider a Digital SLR or a Compact Mirrorless Camera. But I wouldn’t spend too much money on the body (you can get those cheap second hand from a lot of camera sources – B&H, Adorama, Wex Photographic, ).
Megapixel counts whilst nice – aren’t that important.
Focus instead on lenses. For the photos I took, you might want to consider a 50mm 1.8 (which is good value lens). By using focal points and playing carefully with depths of fields and apeture (hint: use f1.8 with a little less light than normal), you’ll get some pleasing results. For close up work, consider the compact Macros which allow you to really get into the detail.
(But if you do this – get a tripod!)
I’m a Canon user primarily. The fact is Canon, Nikon, Sony, Panasonic or Fuji will give you great results today (any of the major photography platforms – we’ve come a long way in a few years).
What the difference will be is the ability to use the camera to get the result… and that means practice.
Hours and hours of practice.
If you’ve got questions, drop an email to me and I’ll try and answer more! (and other commentators – feel free to drop in recommendations!)