Data Storage Adventures – With UGreen NASync
Part 3: Building, Configuring and Deploying the UrGreen NASync 4800
Let’s get into the meat of building this storage appliance.
- Part 1: Some Background and “Why Now?”
- Part 2: Which NAS to go for? Some thoughts and design work
- Part 3: Building, Configuring and Deploying the UGreeen NASync DXP 4800
- Part 4: Data Transfer Tips and Tricks
- Part 5: Making this storage monster grow
- Part 6: Backups still matter, along with some more background reading
Unbox and build
Onto the fun part. With my credit cards wondering what hit them, parcels turned up for me to build at an office. At Economy Class and Beyond, we love a good old-fashioned unboxing, so let’s break some seals.
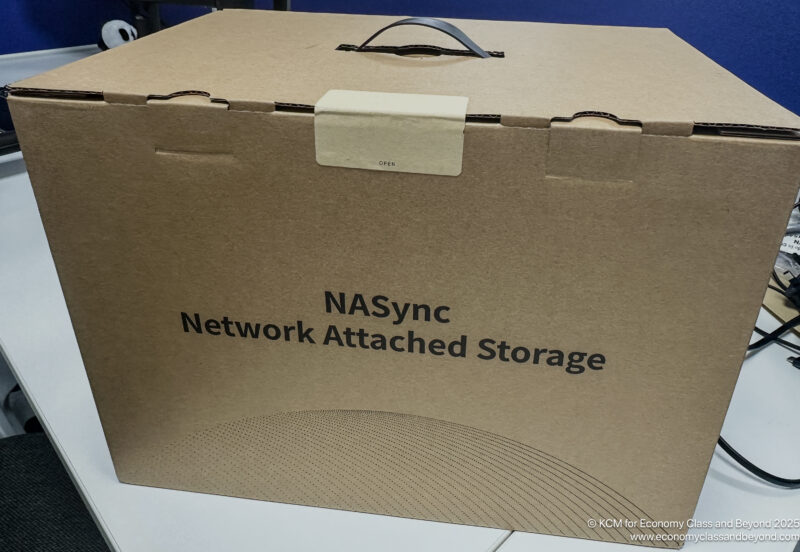
The UGreen NAS was triple boxed to get to me safely (an Amazon box with some paper fill), an external box and the product box.
External Box
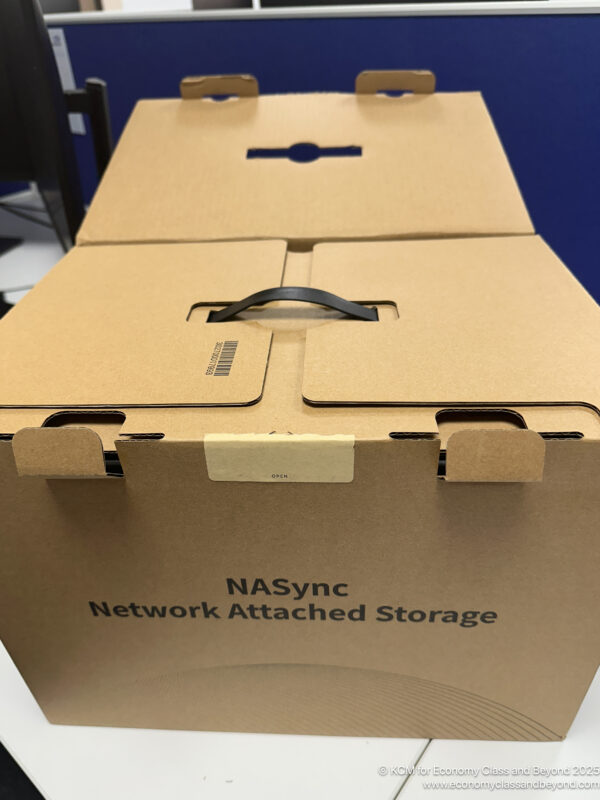
Reveal your SECRETS!
Boxception.
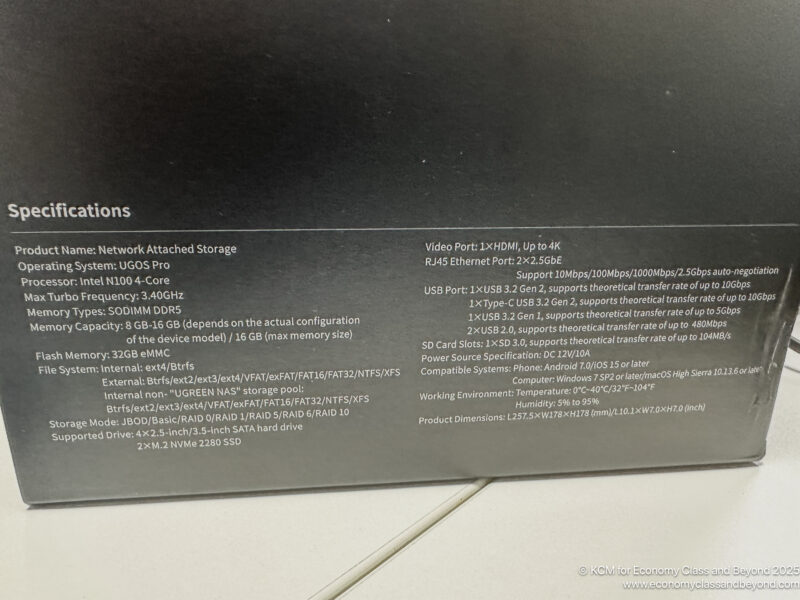
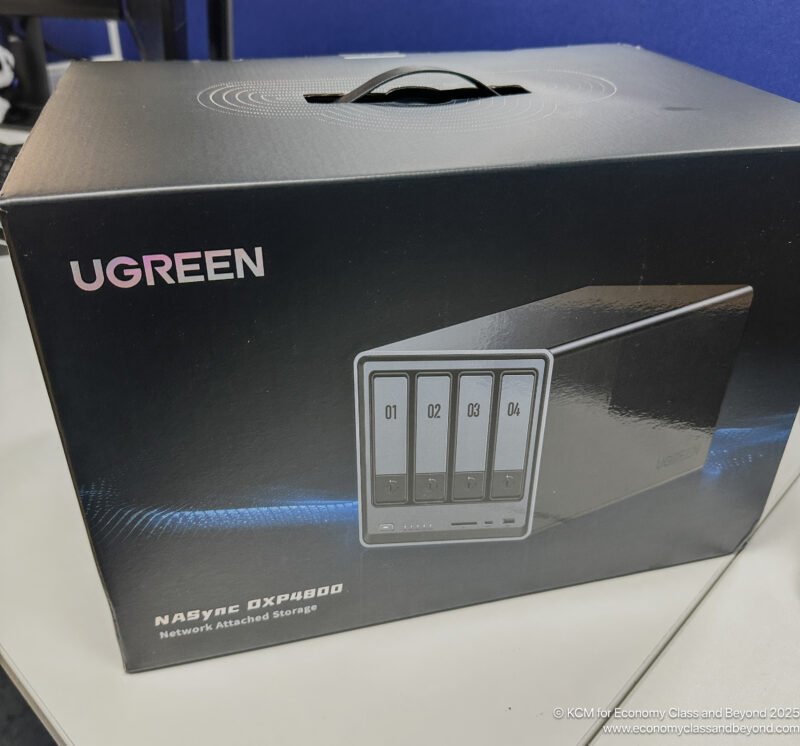
The specifications on the back of the box.
Inside the box was an onboarding guide, as well as all the papers to get me started, as well as the power supply unit and the NAS itself, safely in padded foam cells.
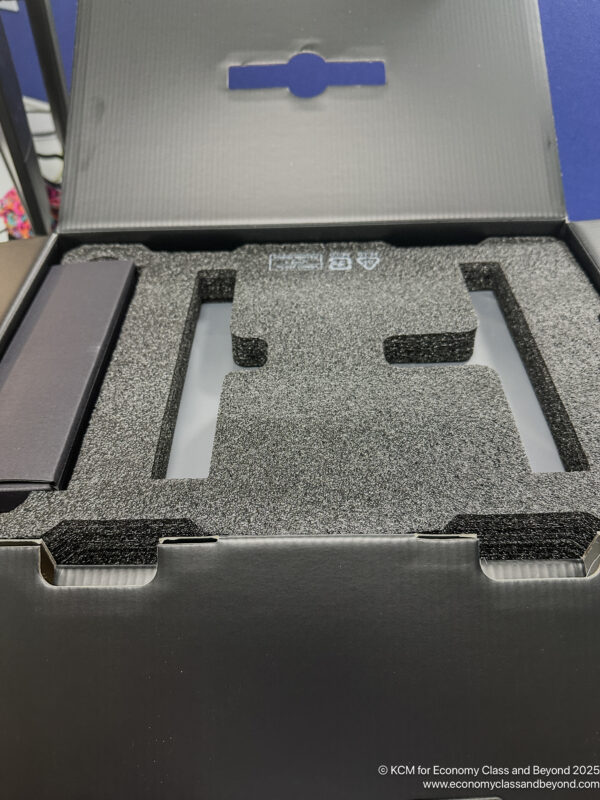
Firmly padded. This NAS wasn’t going to go anywhere. It’s also good for the journey home when there will be Hard Disk Drives in them.
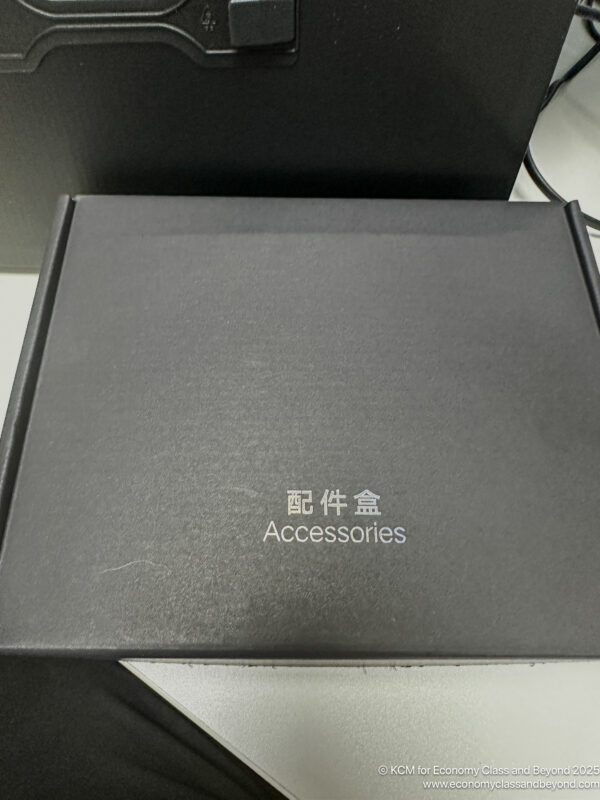
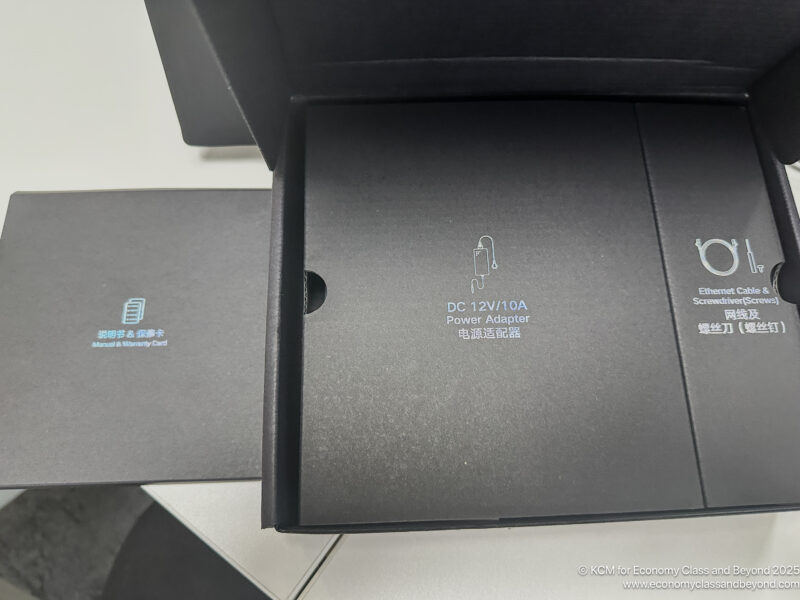
Power and components
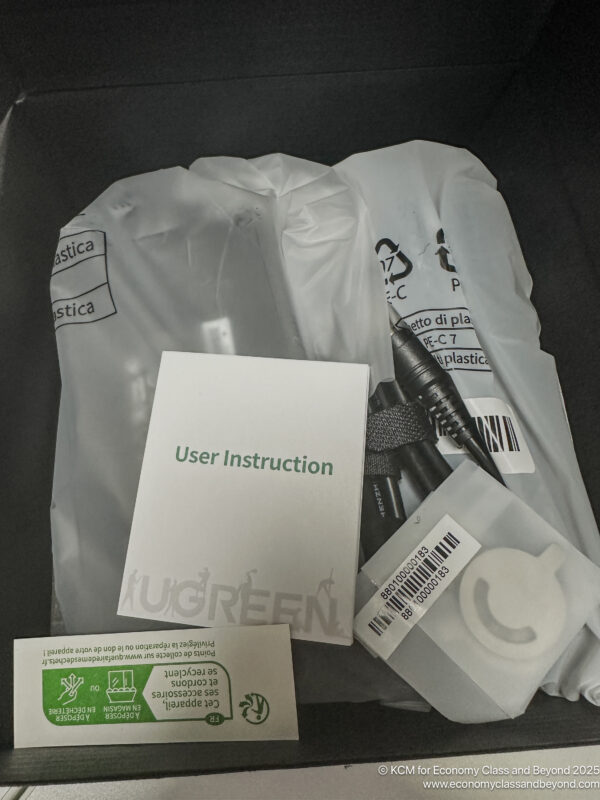
Disk Keys and the cutest manual ever
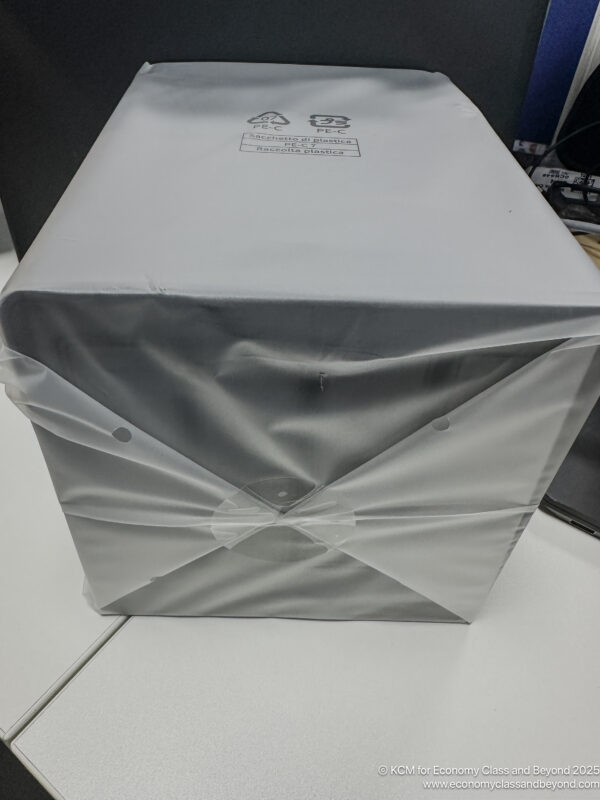
Sealed for freshness.
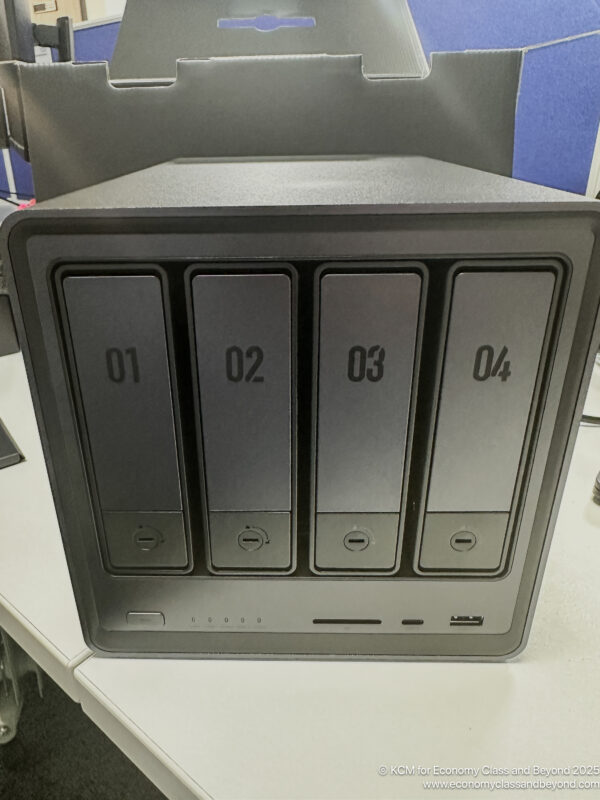
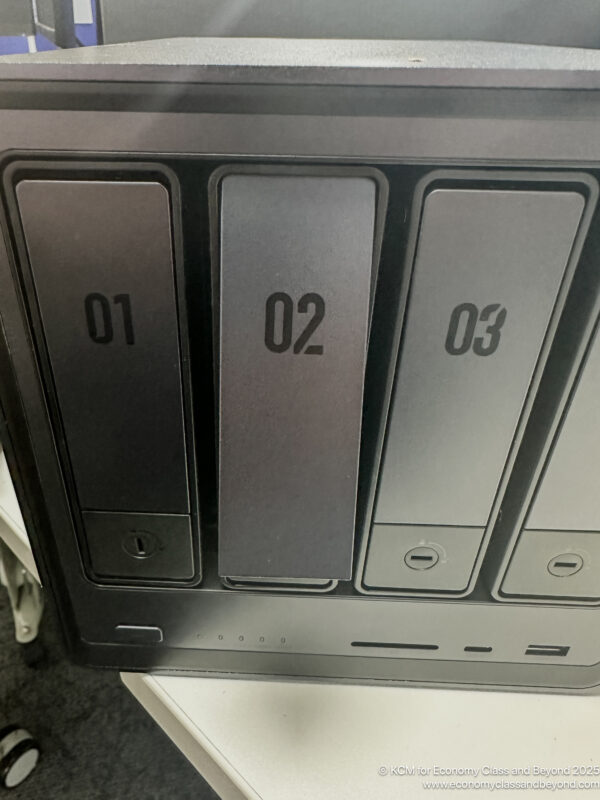
The NAS itself – front-facing with an SD Slot, USB-C and a USB-A slot.
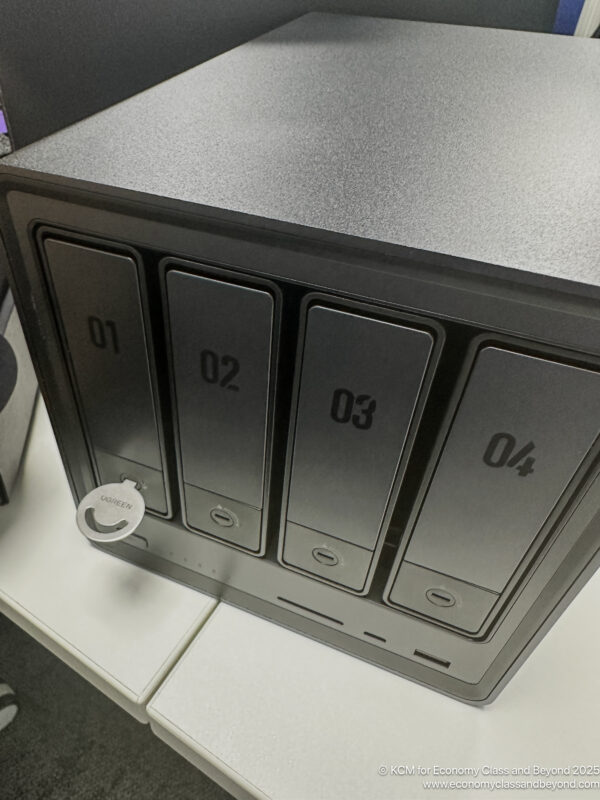
Unlocking the drives
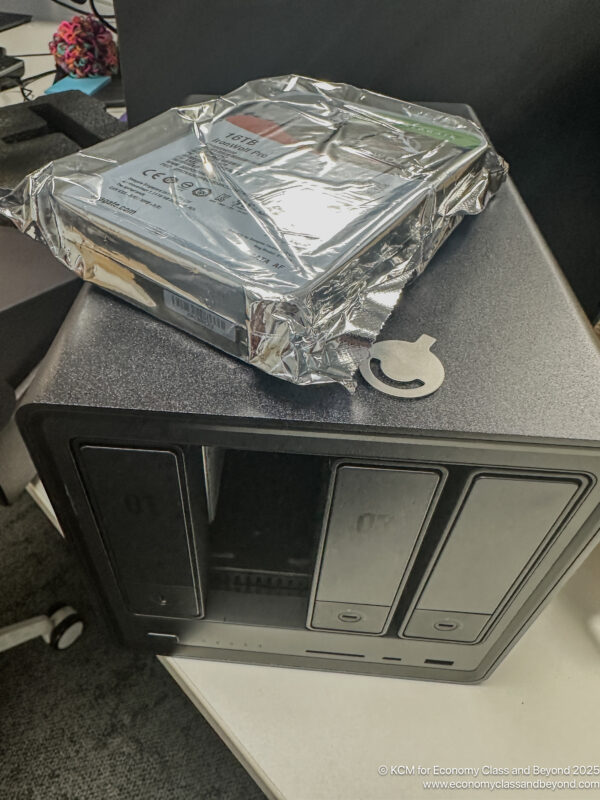
The hard disks came next to mount the device, either boxed or in bubble wrap. For me, it was a note to test the drives as part of the setup process to see if they survived the journey.
In this case, the two 16 TB drives go into slots 1 and 2 of the NAS.
Another 16 TB going in.
Except it took me a good 5 minutes to work out how to install the drives in the caged (with me resorting to the online guide). If you’re installing 3.5″ hard disks in the usual form factor, there’s good news – the drive sledges are toolless.
Locking them in their home
Again, this is part of what you are paying for when you buy a turnkey solution from someone else.
With basic assembly complete, I boxed up the NAS and took it home. It was time to commission the unit back at my home.
Configuring and Deployment
Getting the NAS home was easy enough, as I cheated getting home by taking an Uber. Sometimes, cheating is the answer when you’ve got weighty electronics.
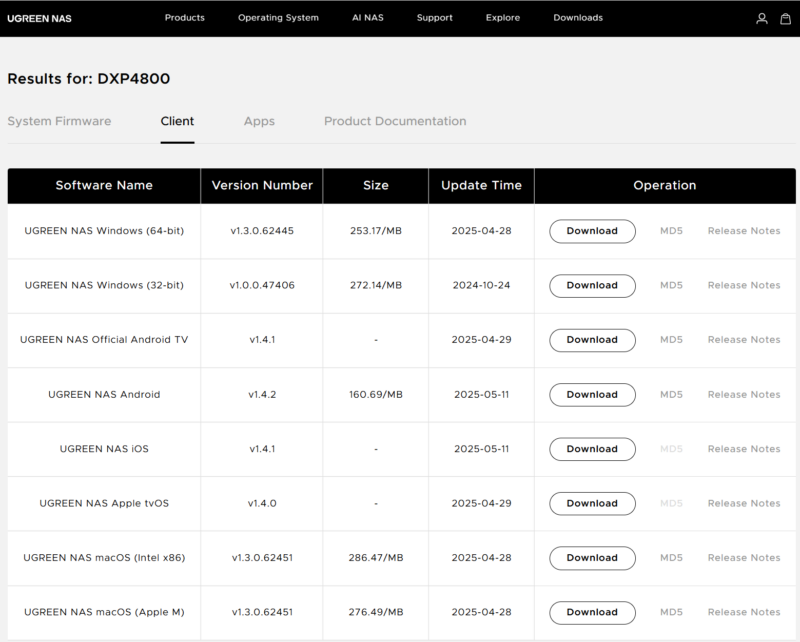
After arriving at the flat, I re-unboxed the NAS and found a spare plug and a network cable from a previous device. With both in place, I hit the power button and went over to the MacBook Pro to download the UGreen NAS Software.
By the time it had downloaded and installed, the NAS was waiting for commissioning and claiming.
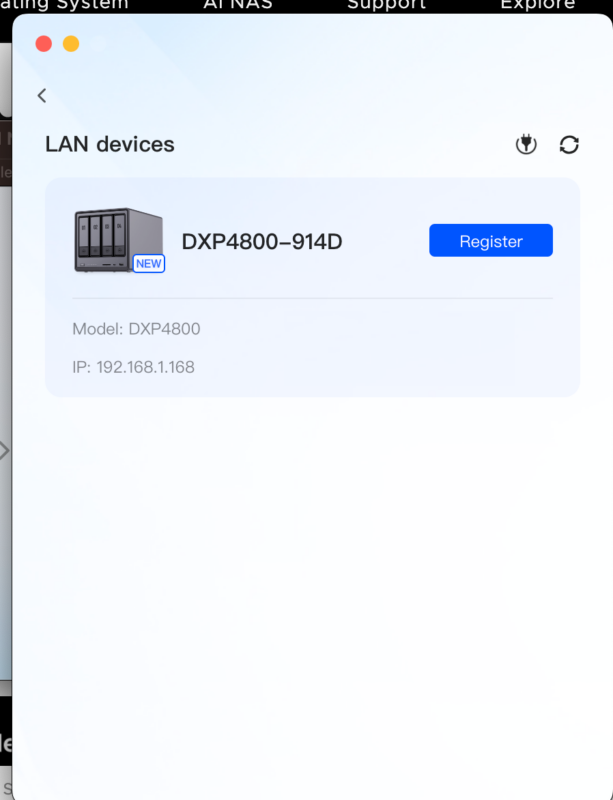
That’s the box. Sadly, the IP is NAT’d…. so good luck remoting to it.
From here, it was a case of naming the device, getting the latest software update (something I appreciate, as software changes often enough, and running out-of-the-box hardware without updated software is never a good idea from a security point of view).
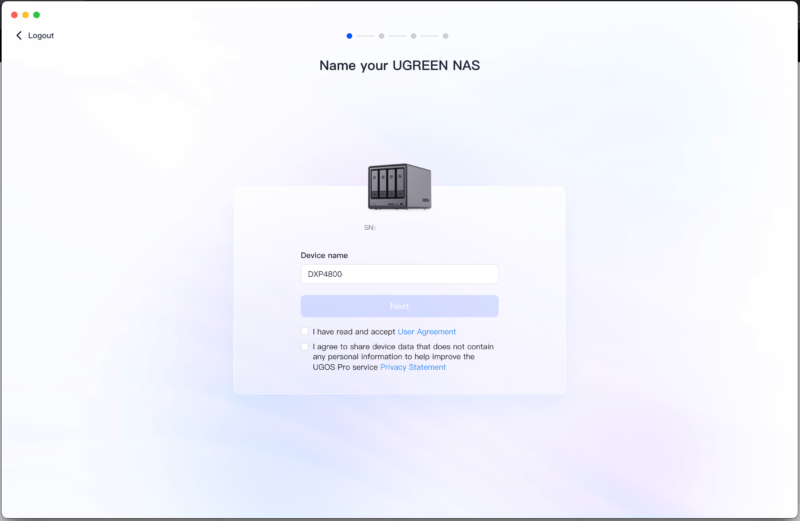
Name the device (For NETBOIS compatibility, try and keep it under 15 Characters)
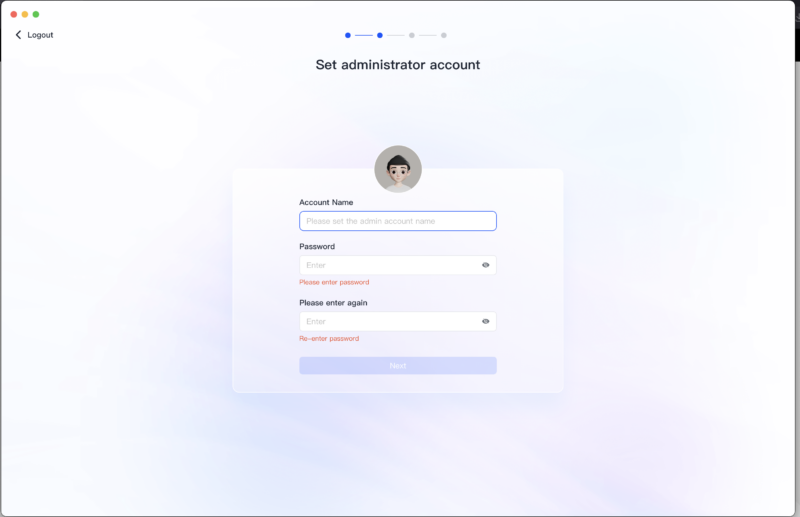
Create a Device Administrator’s Account to manage the thing… and don’t call the account ADMIN. Be slightly more original than that, please.

Switch on the Cloud Connect feature.
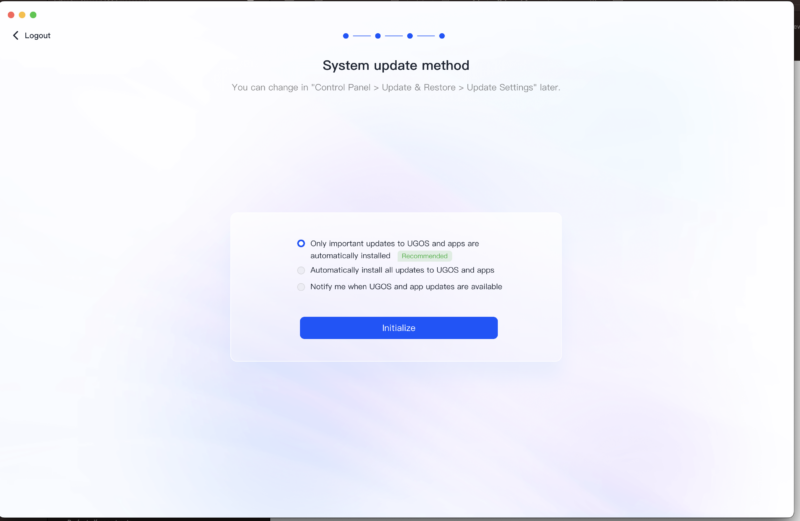
Set a Self-update method. I’ve got no issue with a NAS self-cycling to install updates, for a little peace of mind
And let the initial build work in the background, which installs on the internal eMMC storage.
Once the devices rebooted two times, the NAS was ready for configuration.

The welcome screen appears when logged in. You can use this from either the NAS software or from the IP Address of the device.
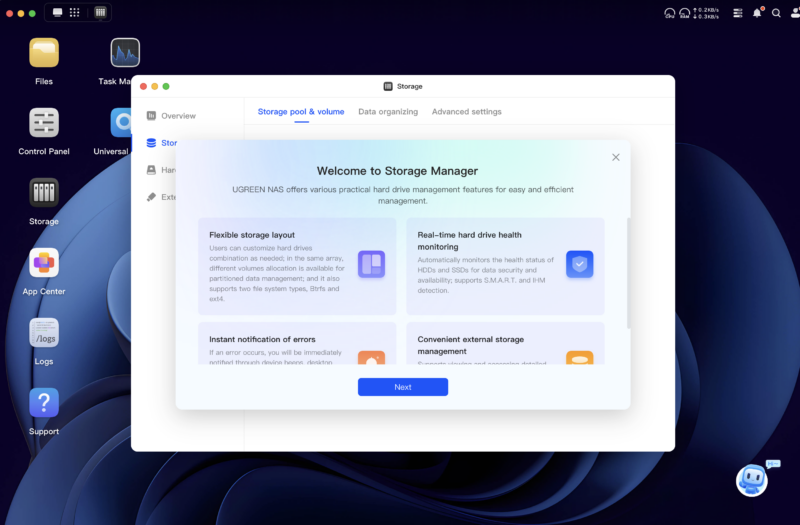
The first order was to set up a storage pool with the two 16 TB disks and RAID them for data protection.
Some nice hand-holding at this point.
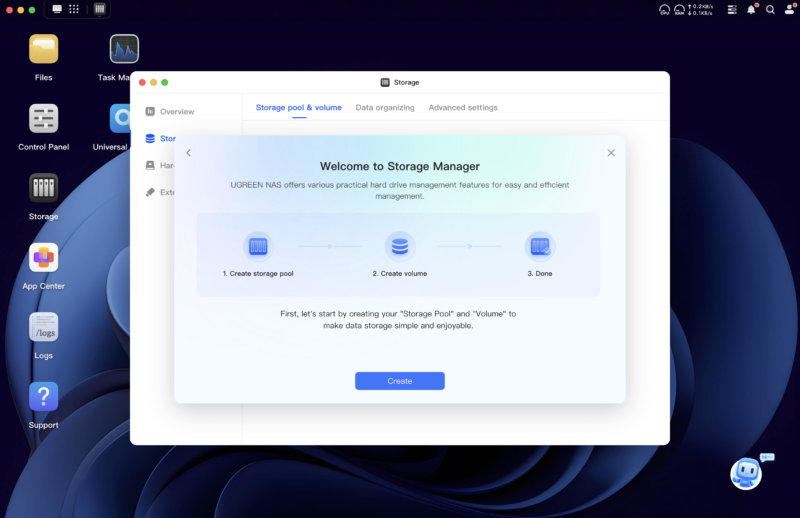
Going through the wizard, it picks up your storage devices. Whilst hard disks can be hot-swapped, NVME drives cannot.
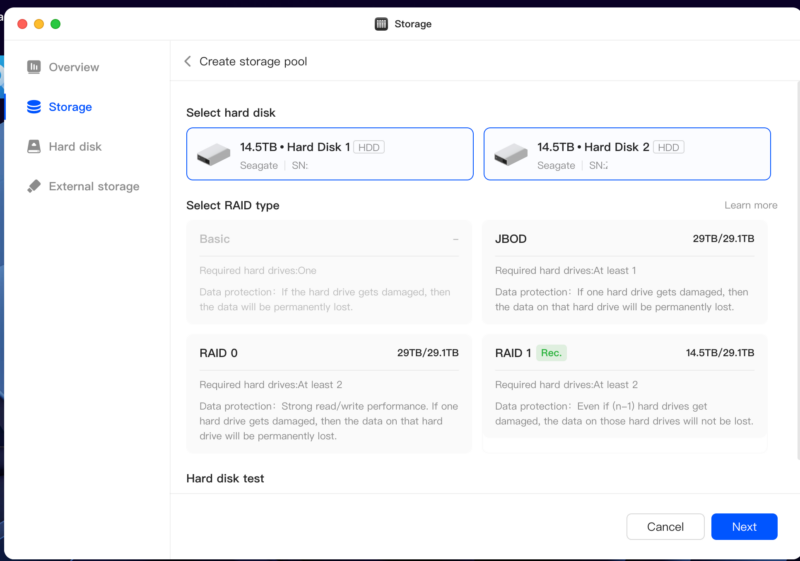
Storage pool options – pick a RAID Style.
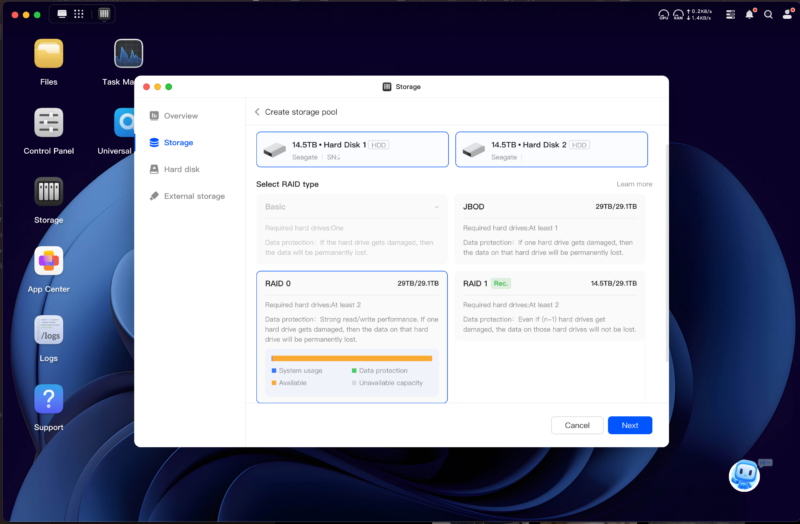
Only pick RAID0 if you have very good backups. Or like living dangerously.
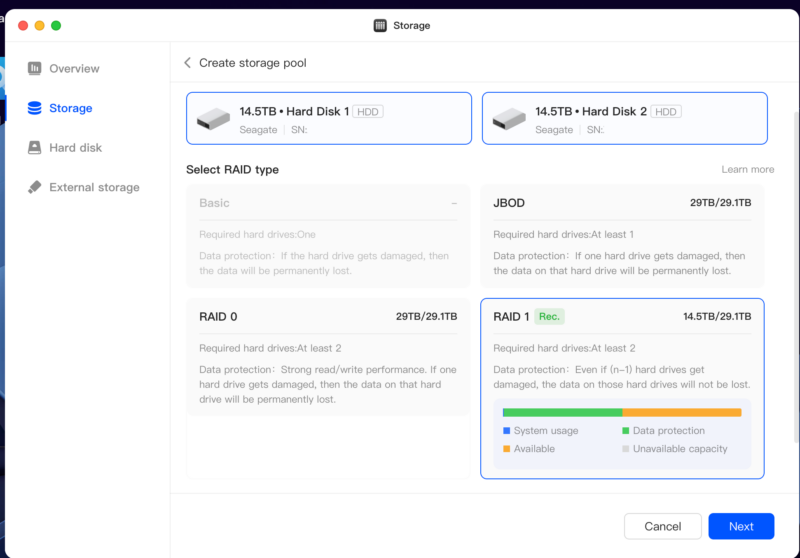
I’ve gone for RAID1 in my current set-up of two disks
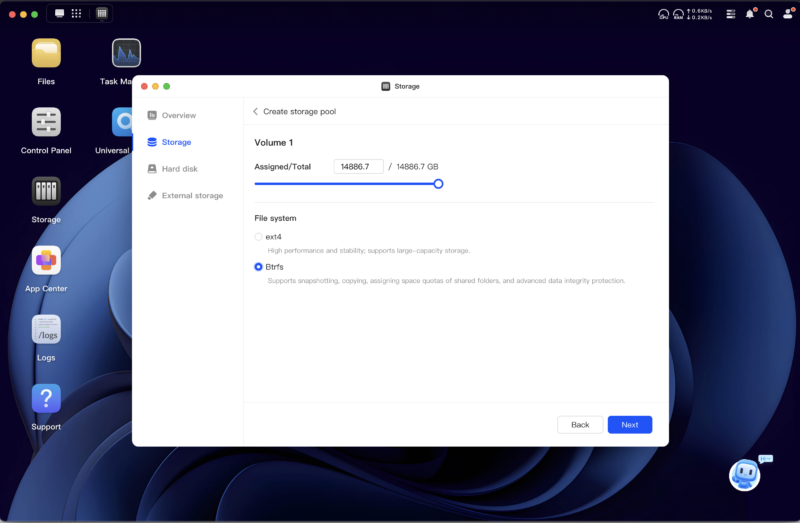
It was pretty intuitive to set it up, with the only concern if to set the device up with ext4 or btrfs (requiring a quick read around the subject. I went for btrfs for this configuration to allow for snapshots and other fun Linux things I’m trying to understand) and the RAID level I wanted
There could have been a better explanation of which is better and recommended (along with examples)

Time to format the Pool and create a RAID1
With the pool set up, it started synchronising. This brings both disks to the same status, which would allow for a disk failure to happen safely.
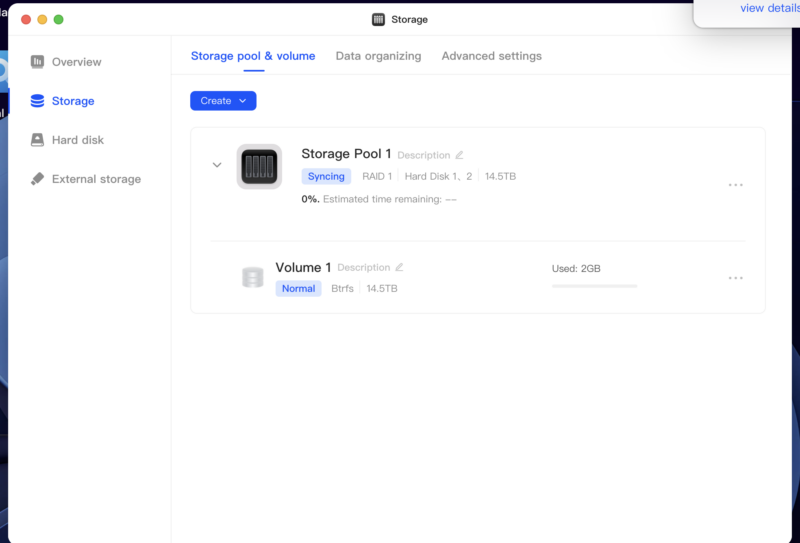
Drives Syncing. This can take a long time.
I also activated SMB Sharing at this point to allow the pool to be visible over the network once users are set up.
The next step was to set up some shares and users. Typically, I do not log into the NAS over SMB with administrative permissions – I like to control the possible damage that something can do.
Thus, I set up users with lower permission sets (typically a Read/Write user without admin access (for day-to-day use), and a Read-Write user with the ability to write to very specific and limited places (this is good for data ingest).
And most importantly, don’t set up guest or generic accounts. Please – I beg of you, never set one up at home or work. Whilst they bring convenience, they ultimately bring pain when things head south.
And trust me – they do.
In terms of shares, I have my main image library, a documents share, a video share and an ingest share. These are typically not quota-set (as I’m the sole user),
From there, it was a case of mounting the share in macOS and preparing to start writing data to the share.
We’re past all the big hurdles now of the setup – onto the long part – and the part every IT engineer… and home user hates… Migrating Data
Welcome to Economy Class and Beyond. Your no-nonsense guide to network news, honest reviews, in-depth coverage, unique research, as well as the humour and madness I only know how to deliver.
Our Social Media pool has expanded. You can find us across most networks as @economybeyond on BlueSky, Threads, Mastodon and Instagram!
Also, remember that we are part of the BoardingArea community, bringing you the latest frequent flyer news from around the world.